

This post contains Amazon affiliate links, I receive a small amount of compensation if you choose to purchase from any Amazon links. I only link to products that I know and love.
Hi Everyone! Today I am going to share a tutorial for giving a Kitchen Aid Mixer a professional looking makeover, all for less than $10.
When my husband and I got married back in 2015 we received a Kitchen Aid Stand Mixer, sound familiar? This is one of those fancy appliances you will see on almost every registry, it has become one of the most popular appliances because it is so pretty to look at and functional for all those bakers out there. This is the one we ended up getting:
KitchenAid KSM156 5 Qt. 4.7 Liters Artisan Stand Mixer 220-240 Volts 50/60Hz (Electric Blue)

Well back in 2015, we were in the process of purchasing a little home in the city and we had decided to use blue as an accent color for the home. At the time we did not foresee leaving our first home so quickly, and blue looked really nice with the home’s décor and style, so it made a lot of sense.
Well…fast forward to 2016, just one year later, and we were moving to the country, to what we now call, the Sunshine Farm. When we moved in the home was a blank slate, which allowed us to start from scratch and embrace the modern farmhouse/midcentury styles. I really wanted to use a neutral palette, relying primarily on white, black, and natural wood. Well, that meant we had to replace a number of things: chairs, rugs, stools, and other furniture. Of course the cost adds up, so I wanted to find ways to makeover existing items instead of purchasing new ones entirely. That’s when I decided to makeover our Kitchen Aid stand mixer.
For this DIY project, all you will need is two cans of spray paint, a screwdriver, tape, and some spare time. Here are the steps I followed to take an appliance that didn’t match our space, and make it modern, fresh, and just like new!
1. Purchase your spray paint.
Make sure to choose one that can be used for metal, and has a glossy finish, unless you want a more matte look. Two cans should be plenty for your project! I used the Rust-Oleum 7590838 Professional High Performance Enamel Spray Paint, 15 oz, Flat White.

2. Remove all detachable metal parts.
You can see the areas that I removed in the two photos below.


3. Clean the mixer well and allow to dry.
4. Tape around bolts and levers to keep paint from covering these areas.
Also tape over the back and electrical wires. See the photos above for a reference on where to tape.
5. Place mixer outside
Use a garage or shed and place on tarp, cardboard, or a different surface that you don’t mind being covered with spray paint. I didn’t follow this advice very well. If you come by our farm you can see white spray paint on our driveway still (whoops!)

6. Follow the application directions given on the back of the spray paint can.
Here are some tips to follow for applying:
- Avoid spraying on a cold or windy day
- Make sure to keep an appropriate distance to avoid drip lines
- Spray evenly and go back and forth quickly over areas to avoid drip lines
- Apply multiple coats (I applied 2-3 coats)
- Make sure to “unlock” the lever and apply coats to the mixer while it is in the upright setting.
7. Once dry, re-attach stainless steel accents, put the screws back in, and enjoy your finished product! It may take a couple of days to fully dry, so I would wait use it for a week or so after painting.


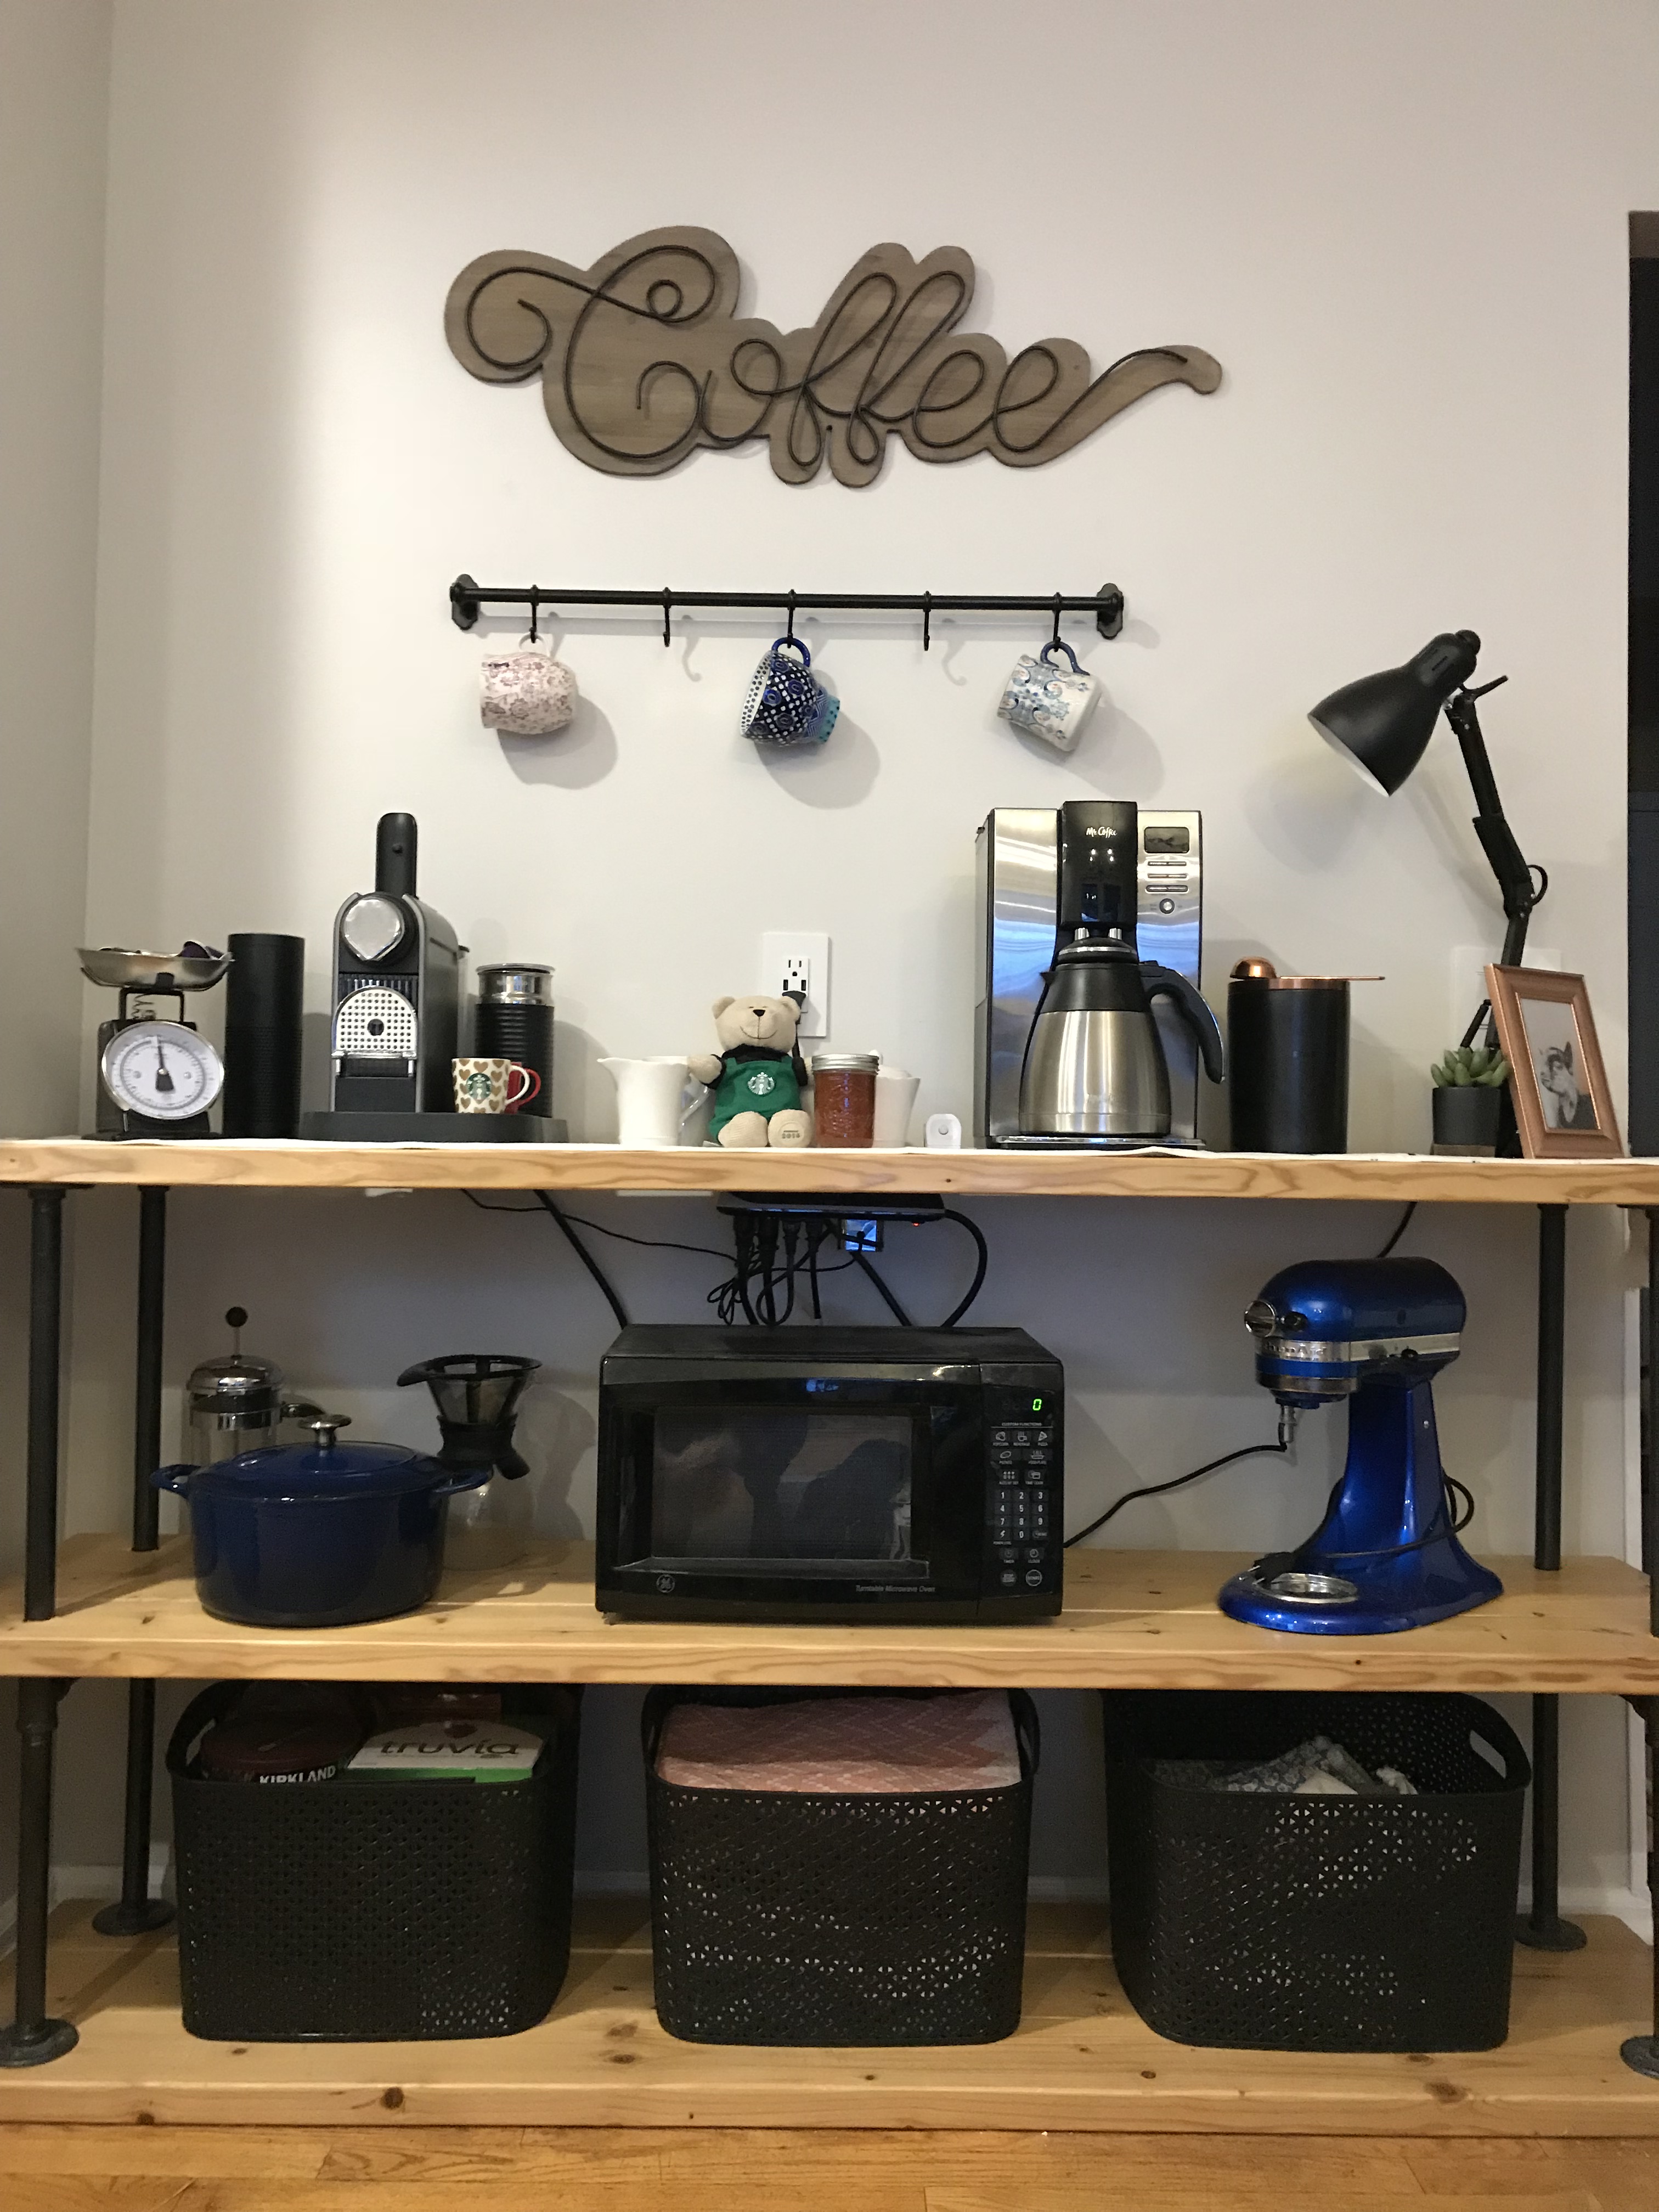
Before
After
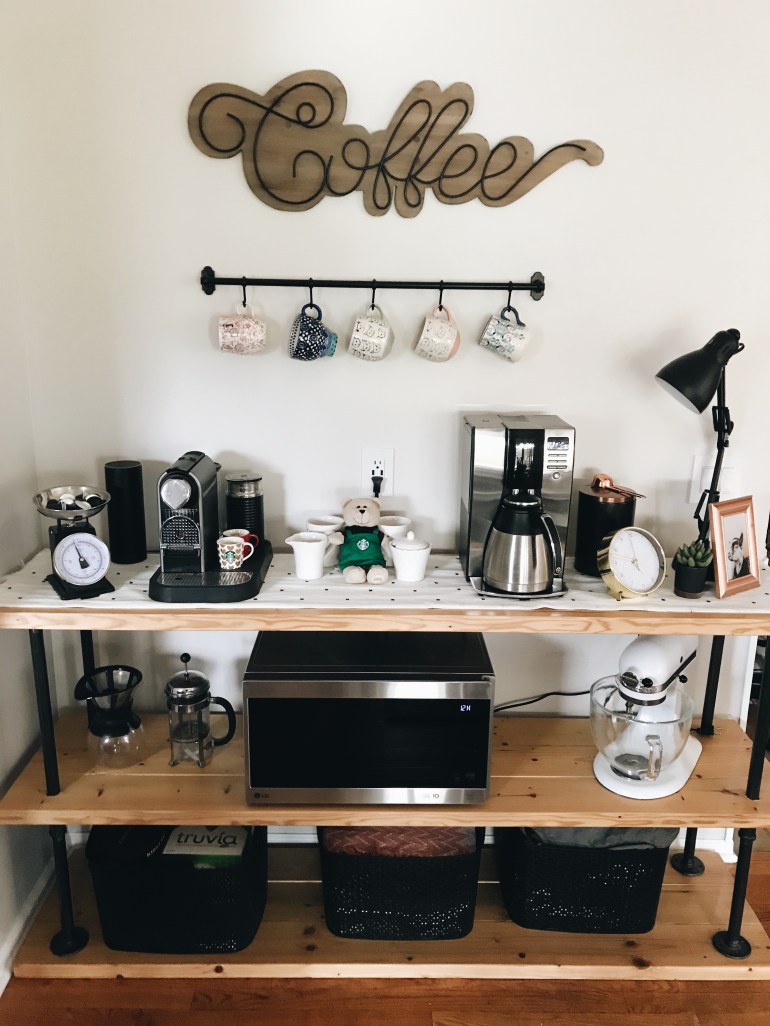

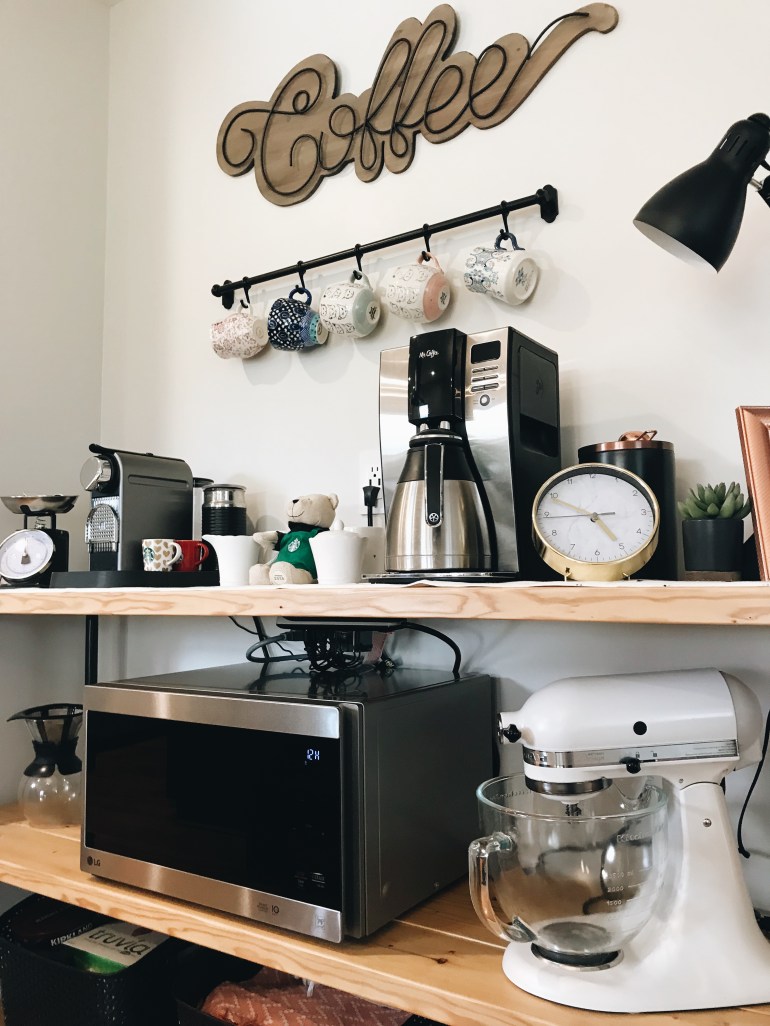
It may have been a little bit crazy, but I am so happy with the finished product, and I think it looks so much better with the style and color scheme of our new home!
What do you think about this project? Was I a little crazy to take a can of spray paint to an expensive, and already beautiful appliance? Would love to hear your thoughts in the comments.
All my best,
Jenn
