This guest post is the second in a three-part series about soil testing. This series is written by Hannah Whitney, with The Whitney Homestead. She lives with her husband, their yellow lab, Maple, and a soon-to-arrive baby girl, on a 2-acre homestead in Maine. You can read the first post by going to the link below:
Why Soil Test? | Soil Testing Part 2
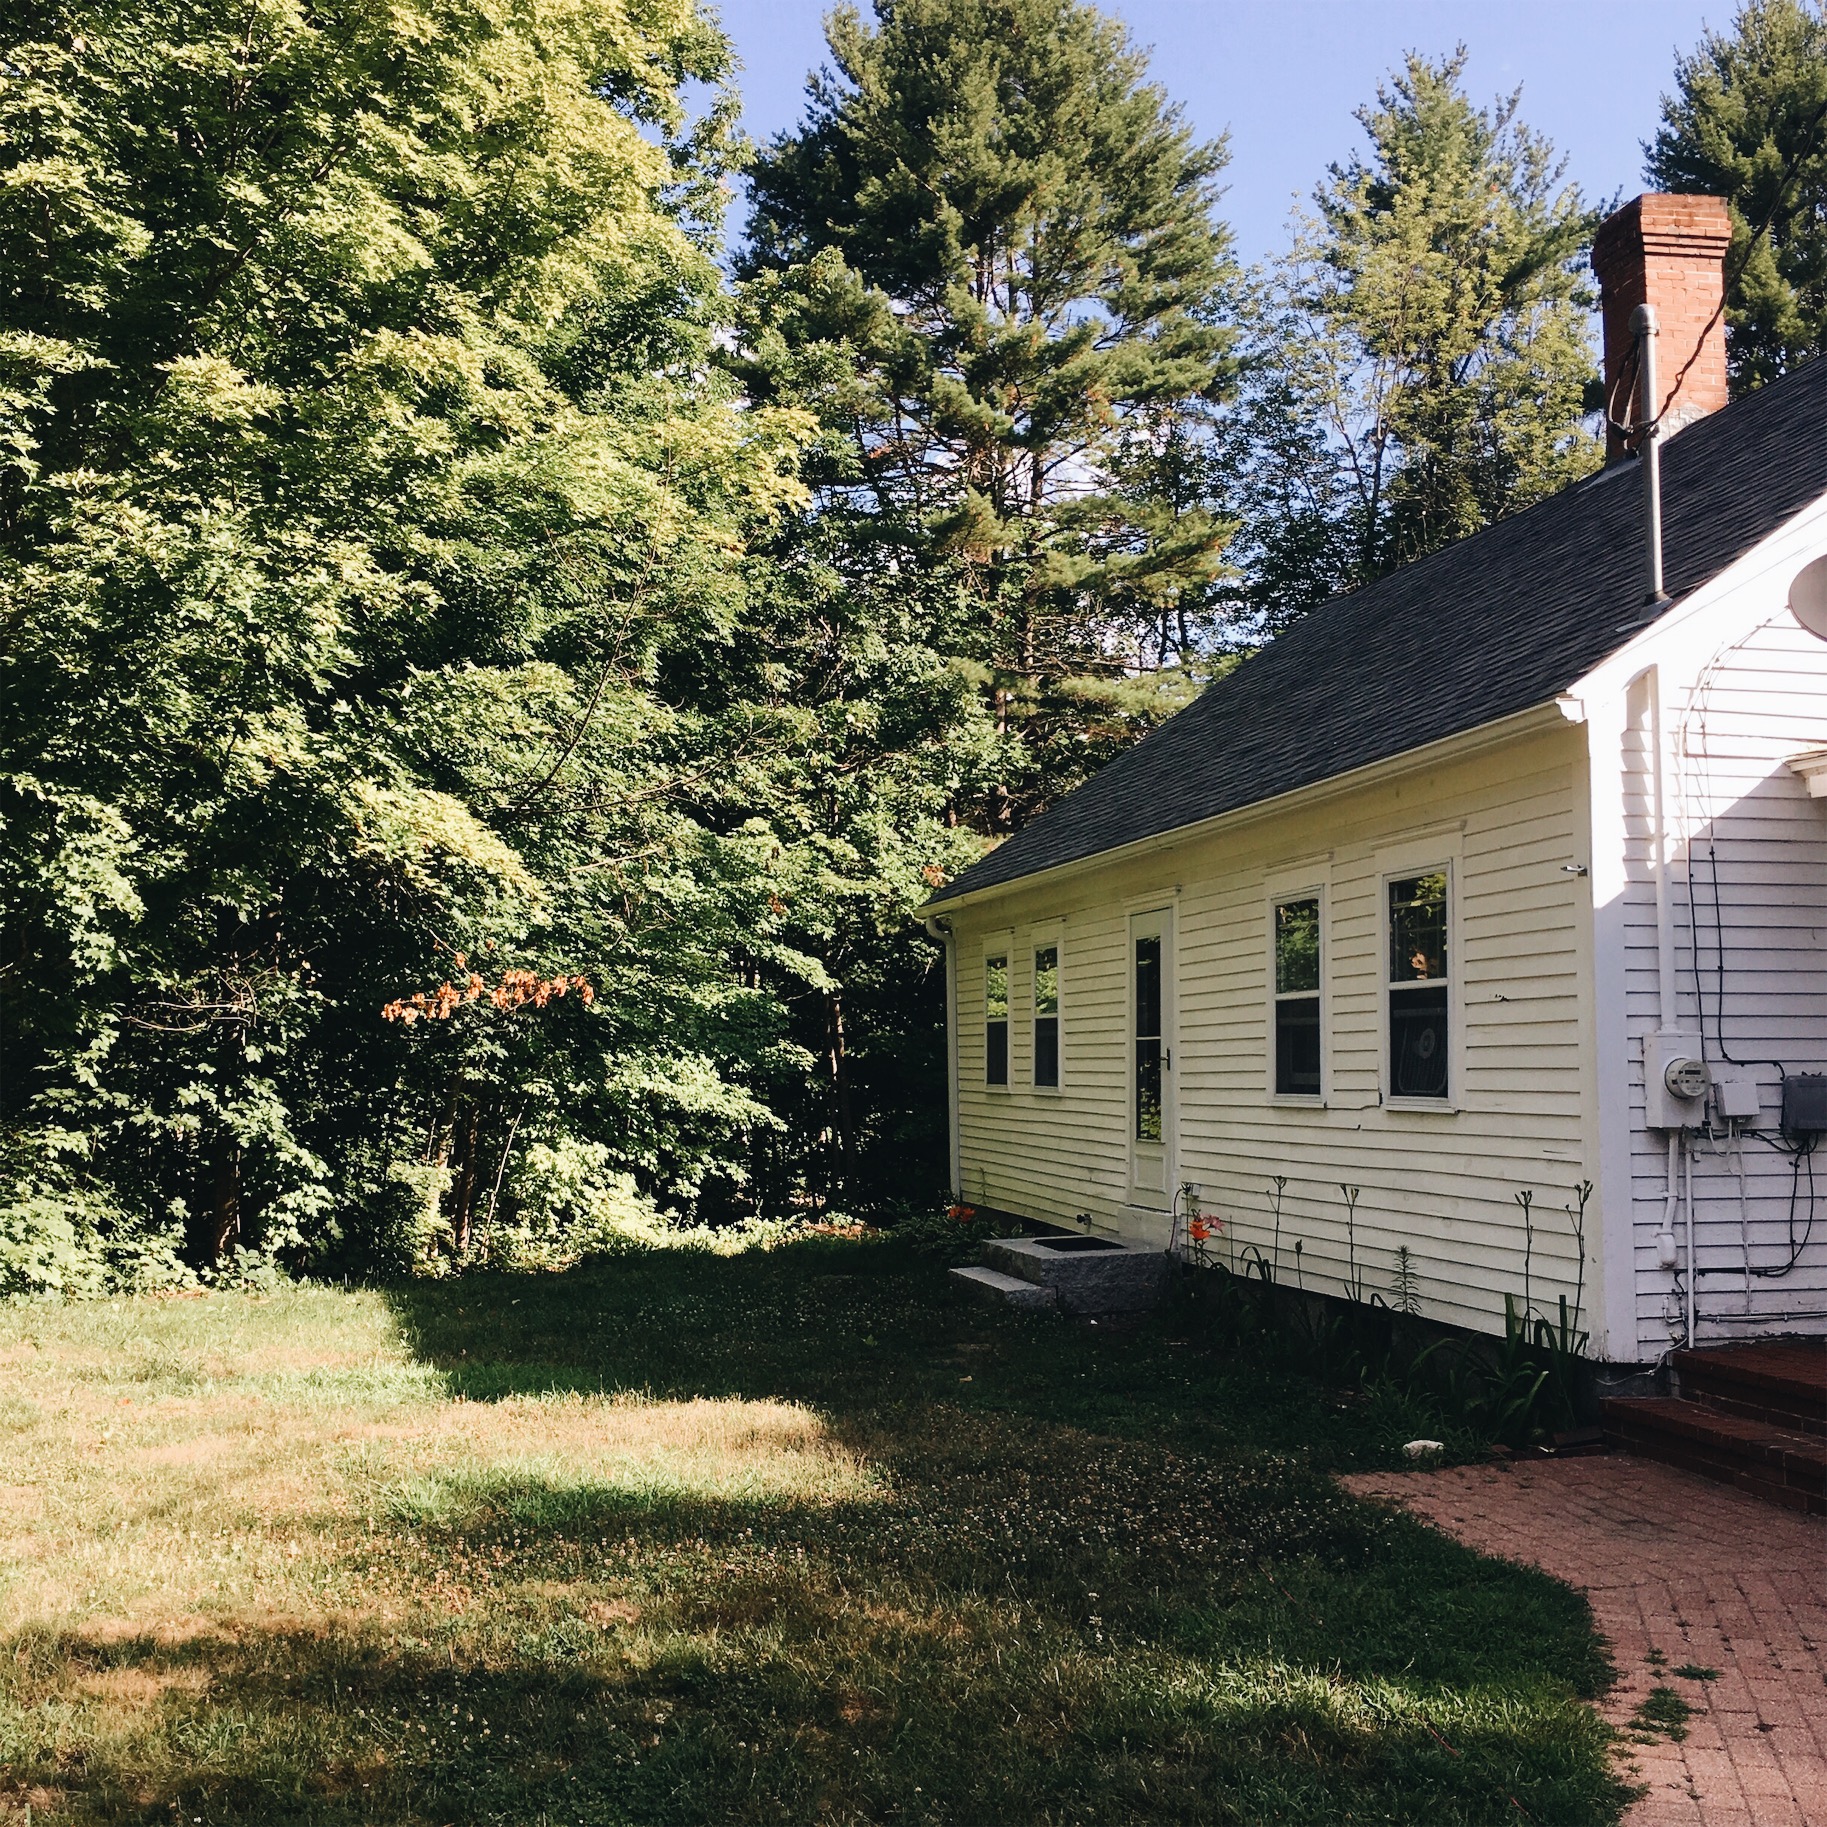
The Whitney Homestead 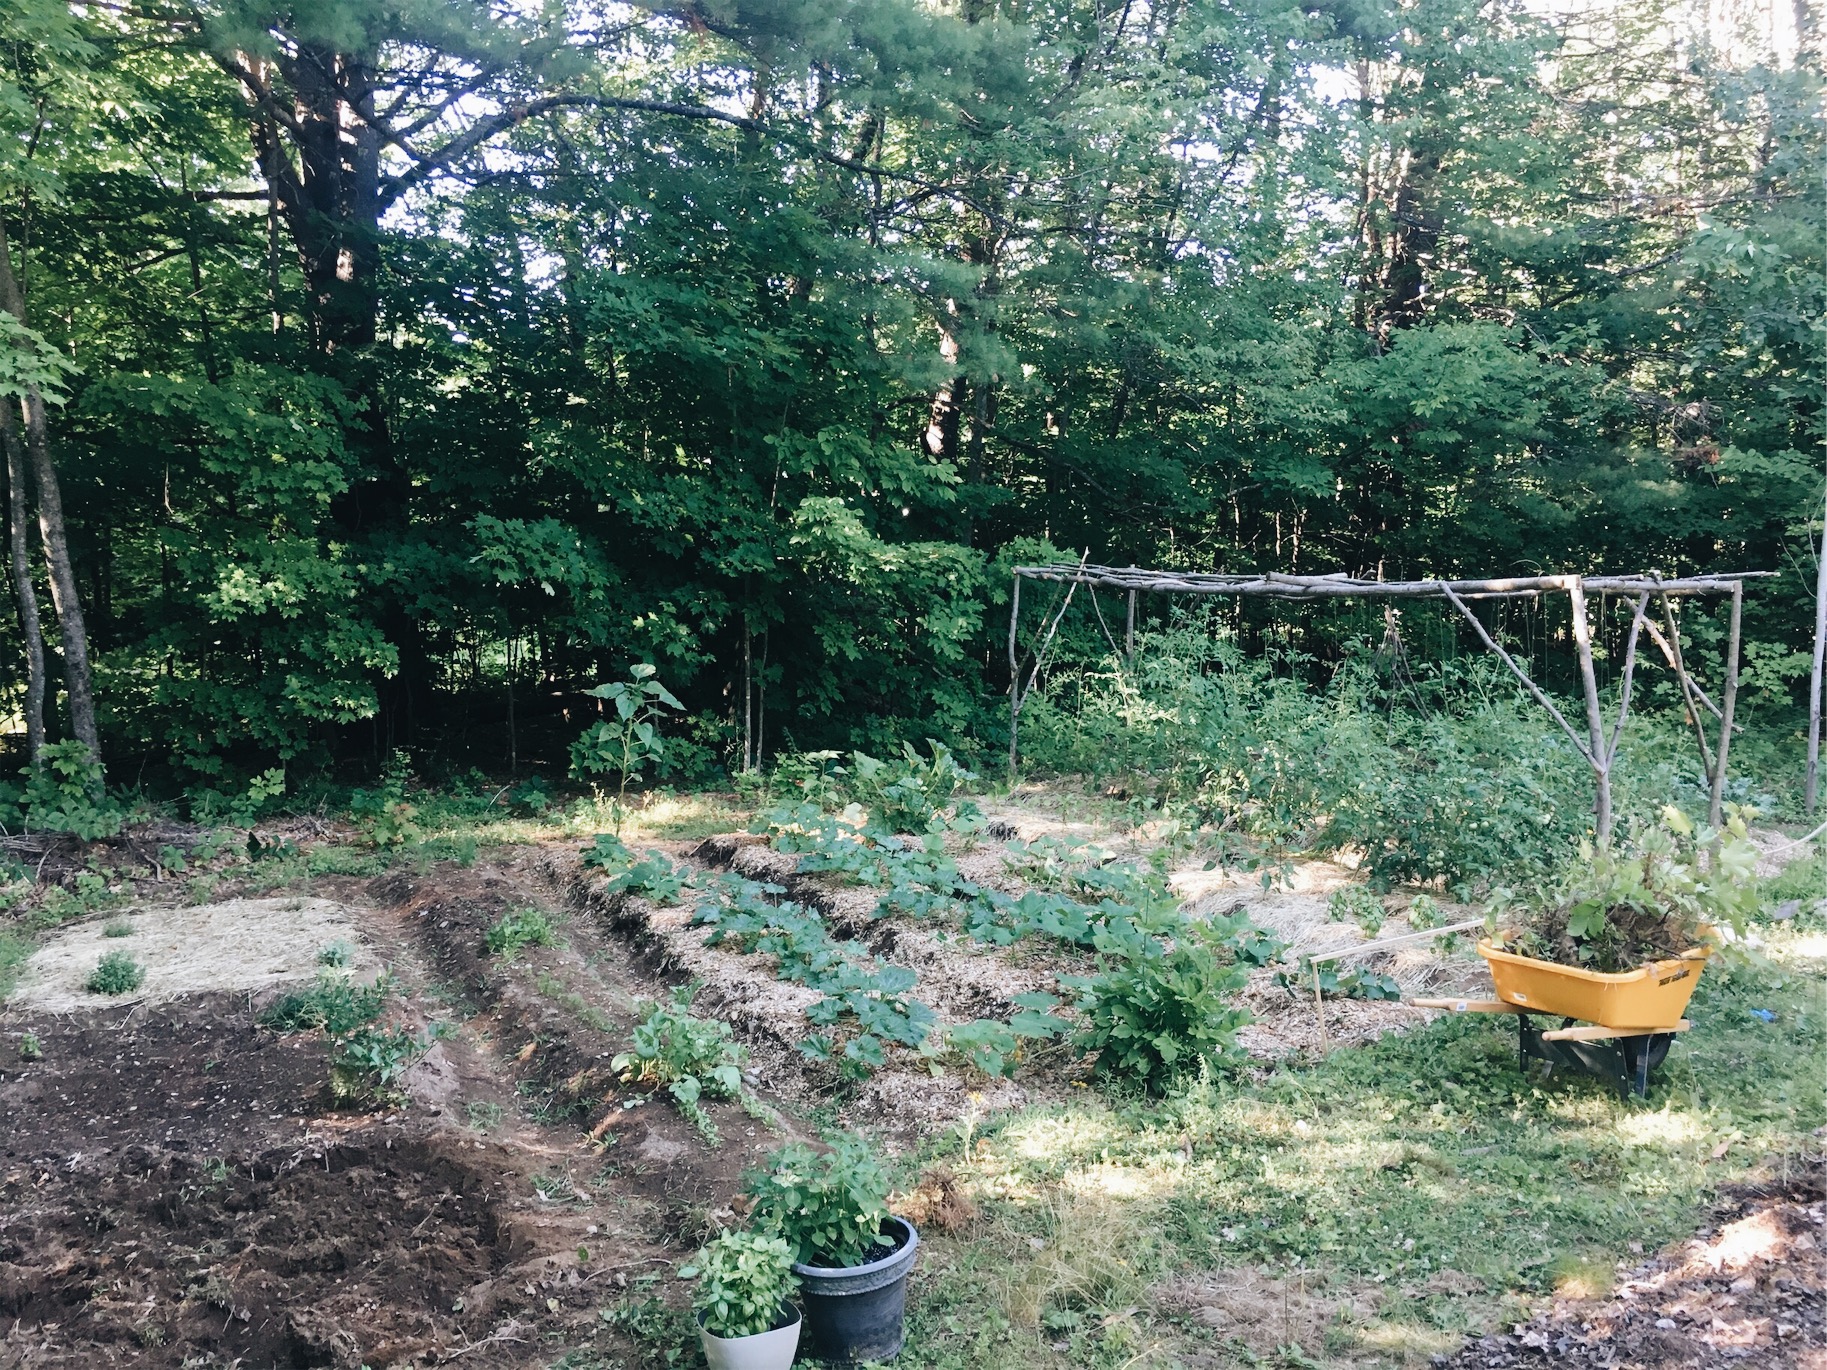
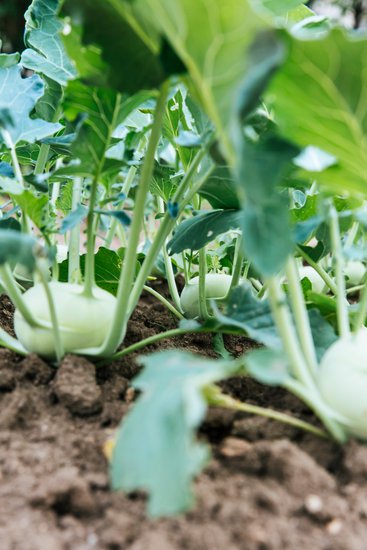
Garden at The Whitney Homestead
If you read my post last week you probably felt a little nervous about the possibility of lead or other heavy metals being a problem in your soil. Testing your soil is so important for many reasons, but first and foremost for me it is about ensuring that I am not feeding myself or my family food that was grown in potentially toxic soil. So we’ve covered WHY you should soil test, but today we are going to cover how you can actually test your soil!
How to Soil Test
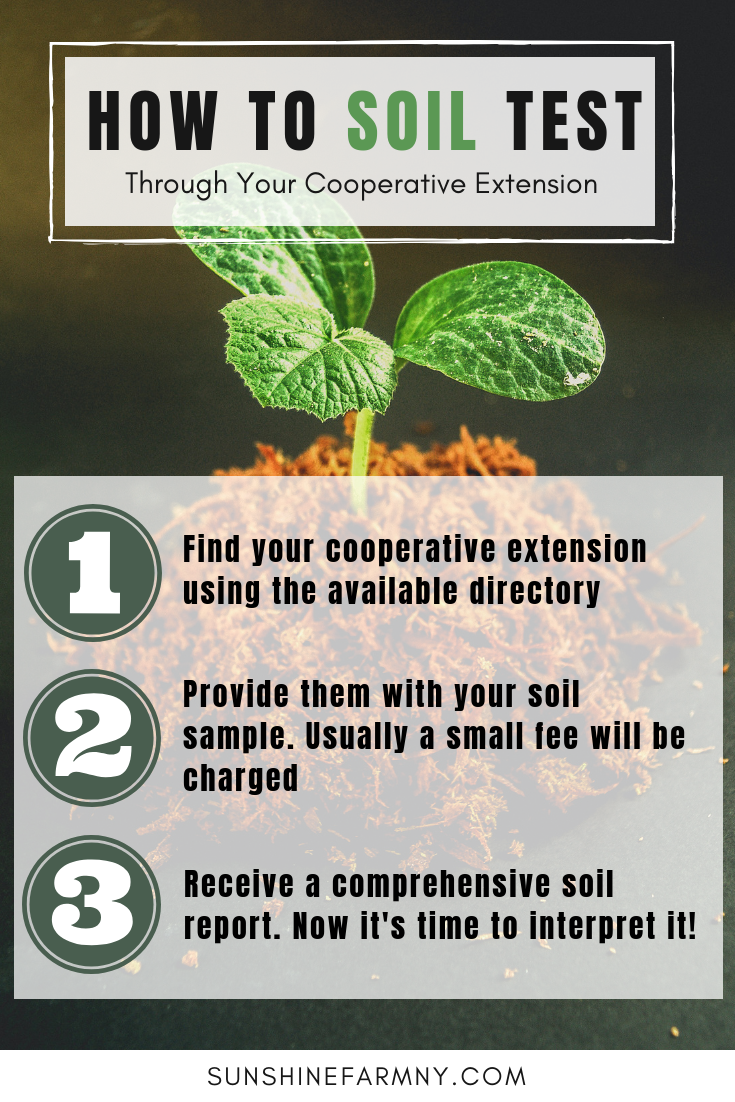
Not all Tests are Created Equal
If you Google how to test your soil, a few different options will come up. You can purchase your own soil test kits online or at certain garden supply stores which will tell you about the pH of your soil. While this can be helpful when figuring out how you should amend the soil to grow different crops, a test like this won’t be able to give you a full analysis of the soil including what kinds of toxins or nutrients might be present.
I live in a state where there are a lot of gardeners and there is a huge emphasis on agriculture. For me, when I wanted to get my soil tested, I knew exactly where to look: The University of Maine Cooperative Extension.
Finding your Cooperative Extension
Extension is an informal education service to the community provided by land grant colleges across the country. Your local or state extension might provide services such as Master Gardener Training and insect education in elementary schools. I understand that every county in the United States has an extension office through the state’s land grant university, and to find your local office you can check out this directory.
Your extension office will (most likely, I haven’t checked for every state) provide a soil testing service for a small fee. To have my soil tested, I simply went to The University of Maine Cooperative Extension website and clicked on their link about soil testing. I ordered a free kit and when the ground thawed in the spring and followed the directions to collect a sample. Then, I sent my sample along with a check (price could vary state to state, but mine was around $20.00) off to be tested.
If it isn’t obvious to you on the extension website how to collect a soil sample, go ahead and give them a call! Even if your extension office doesn’t provide the service, they will surely be able to advise you on the best way to go about getting a comprehensive soil test conducted in your area. Additionally, the form that they gave me to fill out along with my sample was a little confusing and I wanted some help to be sure I filled it out correctly. If you have any questions, just give them a call or stop by your county’s office. I’ve found extension employees to be some of the friendliest people around and they are always more than happy to help!
Your comprehensive soil report will tell you so much. Next week I will dive into how to use the results for improving nutrients in the soil and what to do if the test shows that you have high levels of lead in your soil.
You can reach Hannah at whitneyhomestead@gmail.com or find her on Instagram @thewhitneyhomestead

I got some useful things from the USDA website when I was researching my book.
LikeLike