Budget-friendly, creative tutorial for bringing art + function into the garden!
This post contains Amazon affiliate links, I receive a small amount of compensation if you choose to purchase from any Amazon links.
I am notoriously bad about marking the garden. I rely on memory (and a bad one at that), and natural markers to remind myself where things are planted. While this may work, some of the time… it definitely makes it hard for my spouse to know where things are, and it makes it especially hard for me to point out different plants in the garden to visitors.
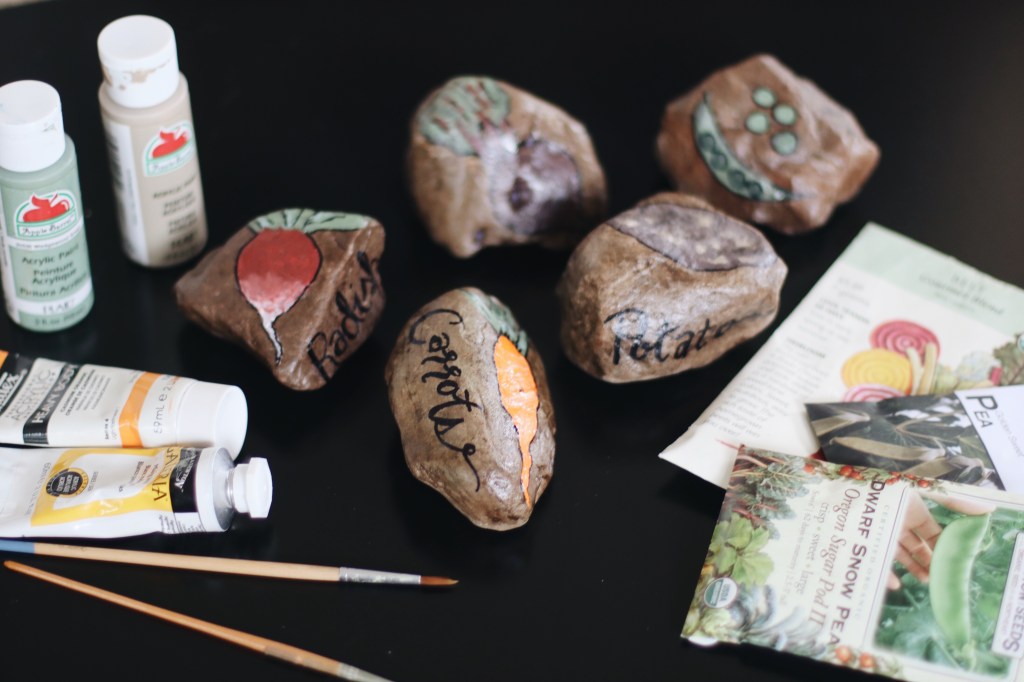
This year, I wanted to bring some markers into the garden, but I didn’t want to spend a lot of money, and I wanted something unique. That’s when I thought of painting rocks, that we already have plenty of, and using them as garden markers. I had the paints, the sharpee, the rocks, all I needed to pick up was a coat to seal and weather-protect the artwork.

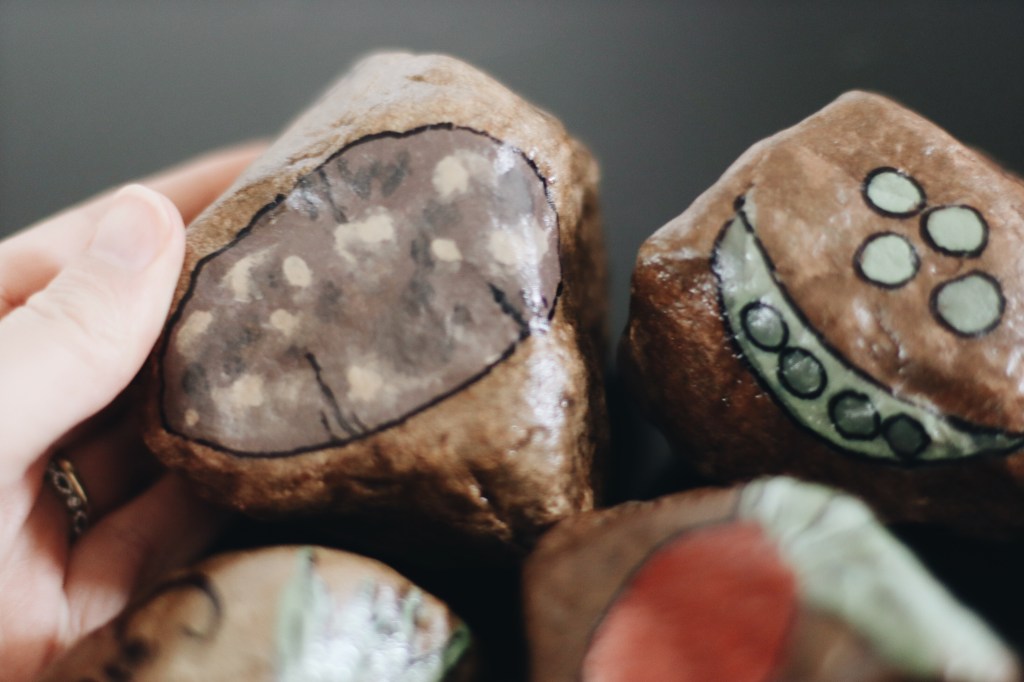
After thinking about this for a minute, I did some research and found that there are a number of people who actually use painted rocks as garden markers. They take all kinds of fun approaches to this DIY project, and today I am sharing my own approach. I encourage you to have fun with this! Make it your own, and let your creative side out.
Video Tutorial | DIY Painted Rocks as Garden Markers
What you will need for your painted rocks:
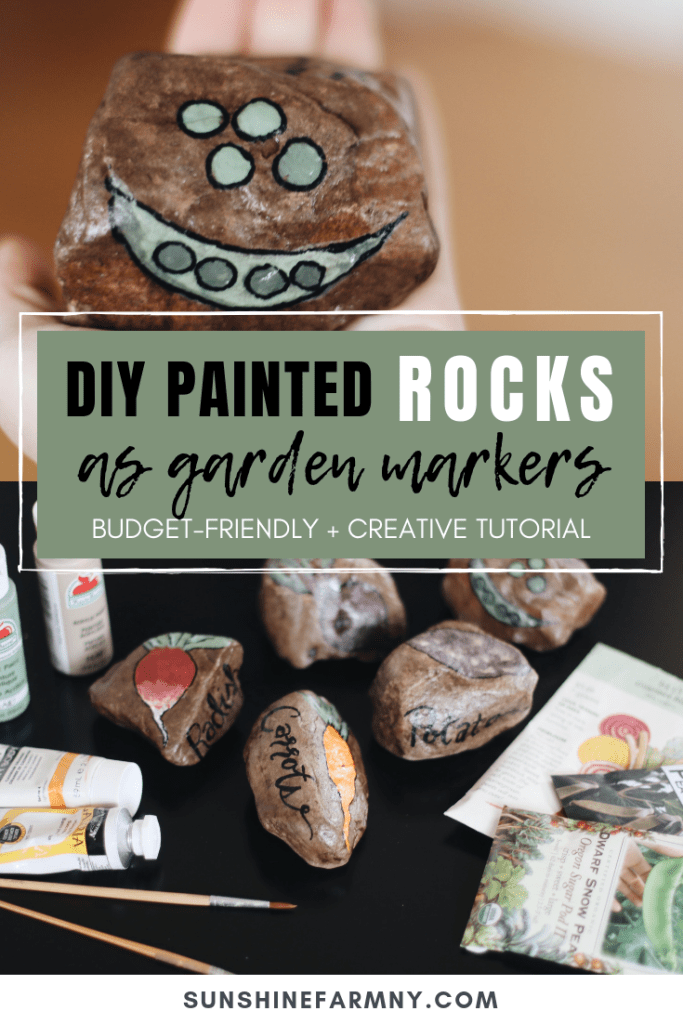
- Rocks! The smoother the better, although I had a bit of fun with some more rough edges.
- Acrylic paints. Like these.
- Paint brushes. These $5 brushes should do the trick!
- Sharpee or other permanent marker. I chose to go with a black Sharpee.
- Blow Dryer.
- Sealing Coat. I used this $5 product.
Step by step instructions for painting your rocks:
Feel free to follow these steps, or simply use this tutorial as inspiration and take in whatever direction you wish!
- Wash the rocks thoroughly and let them dry. A blow dryer will speed up this process.
- Start painting your shape! If you mess up, take a wet washcloth or paper towel and wipe it off quickly.
- Add additional coats as you go.
- After applying each coat, use the blow dryer to dry the paint before re-applying.
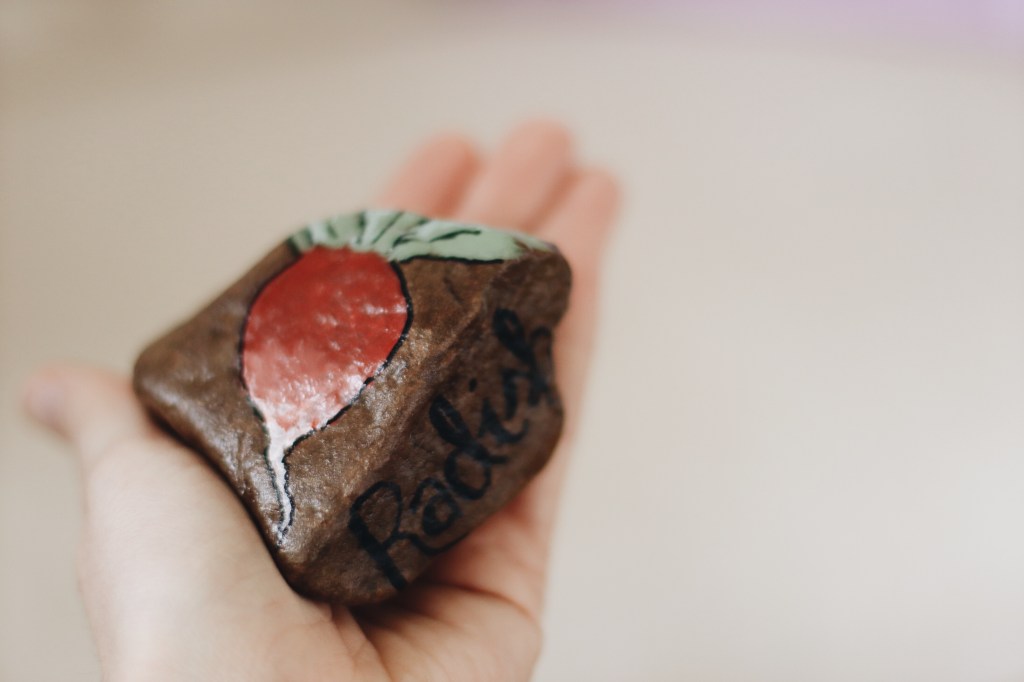
- Outline the painted shape with a sharpee.
- Write out the fruit or veggie on the other side of the rock.
- Add coats of polyurethane varnish to seal. 2-3 coats should do the trick! After each coat, use your blow dryer to speed up the process.
- Once the coats are dried, your DIY painted rock garden markers are ready to get out in the garden and do their job.

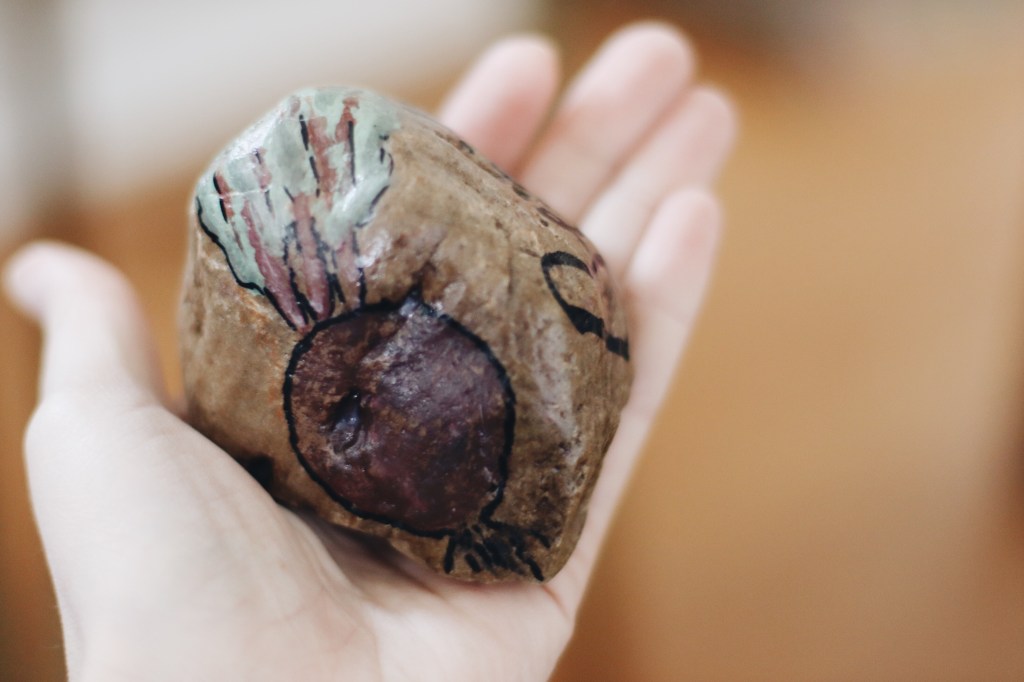
The hardest one for me to paint, was definitely potatoes! How do you paint something on a rock, that already looks like a rock?! I had fun with it regardless and was surprisingly happy with the outcome.
These inexpensive DIY garden markers are a fun project to work on any time of the year, and even make a great gift idea for a garden-lover in your life.
Did you make your own garden markers following this tutorial or inspired by this tutorial? Send me an email with a picture of your final product and I will add it below (with credit) to this blog post!
Comment below and let me know what you think about this idea.
That’s all for now friends!
All my best,
Jenn
PIN it for later!

I love this idea!! So cool!
LikeLike
Thank you!! I am so glad you like it. It was so fun! Can’t wait to get to painting some more.
LikeLike