EXTREME GARDEN MAKEOVER SERIES | EPISODE 1
This garden makeover is the first in a series called Extreme Garden Makeover. The goal of this series is to inspire people to create beautiful and productive gardens where they can grow as much food as possible. This series is not just about making beautiful spaces that look pretty for before and after photos. It is about functional spaces, maximizing efficiency in the garden, decreasing weeds, increasing soil health, and minimizing garden waste.
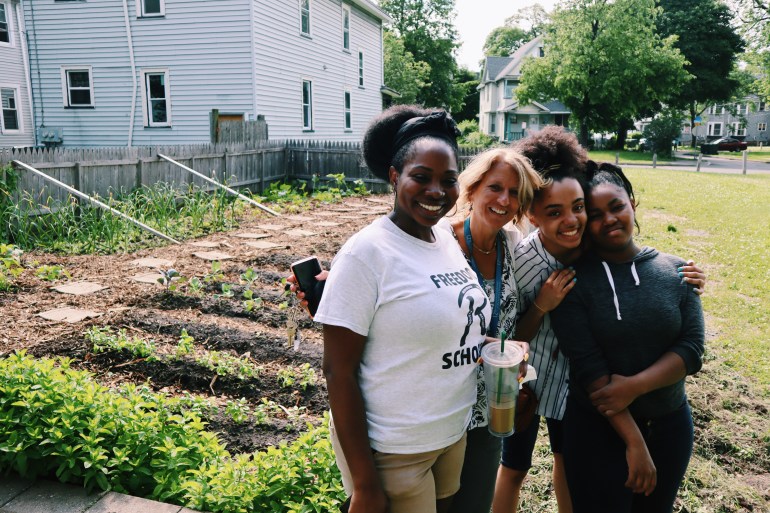
Friends! I’m so glad to be back, I’ve been a bit busy, and I think after this post you will have an idea why. Today I cannot wait to share with you a total garden transformation, at a local community garden here in Rochester, NY.
Freedom School Garden is about 1,000 sq. ft. of growing space outdoors in a large raised garden plot. They also have a greenhouse where they have about 200 or so sq. ft. of growing space. For the makeover, we focused our attention on the outdoor plot, since it was completely overcome by WEEDS. I’m talking weeds everywhere! Even though there were tomatoes, eggplant, cucumbers, beans, garlic, zuchinni, and mustard greens planted, you couldn’t even tell because of ALL. THE. WEEDS!
BEFORE
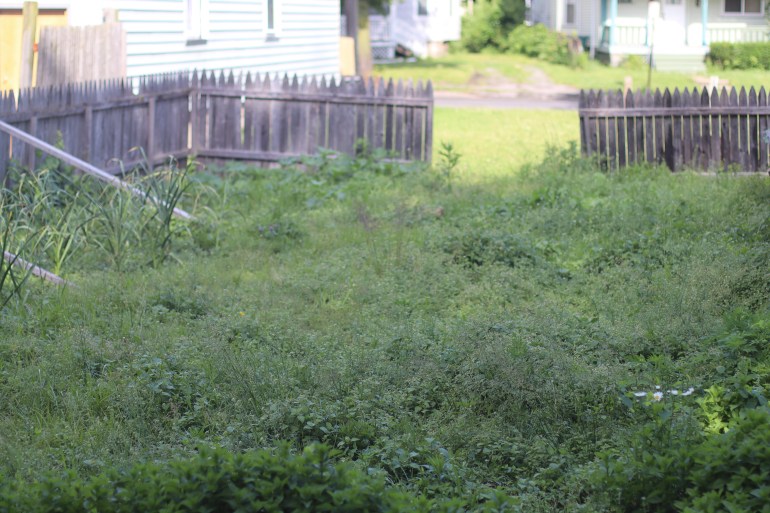
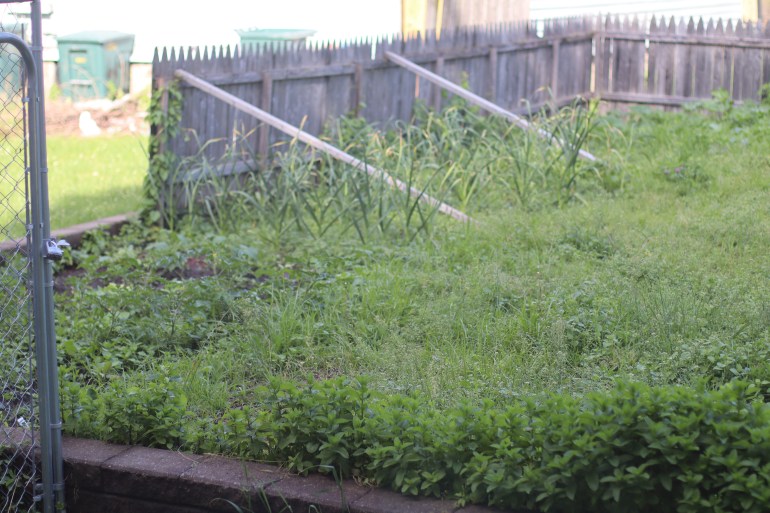

From a no-till perspective, it would have been ideal to use a weed block, barrier, or even tarp to quickly kill the weeds and plant right into the soil; however time was not our friend in this garden makeover, so the solution was to dig out the weeds, as you will see in the video.
With a lot of help, a couple of hours later most of the weeds were gone. Luckily, they were annual weeds and were shallow-rooted, so they weren’t all that difficult to remove. The challenge, of course, was the large size of the garden and the amount of weeds that had taken over.
After weeding, we got to work planning the space and getting transplants in the ground, as well as direct-seeding crops. We also starting preparing and laying a whimsical garden path, one of my favorite parts of this project.
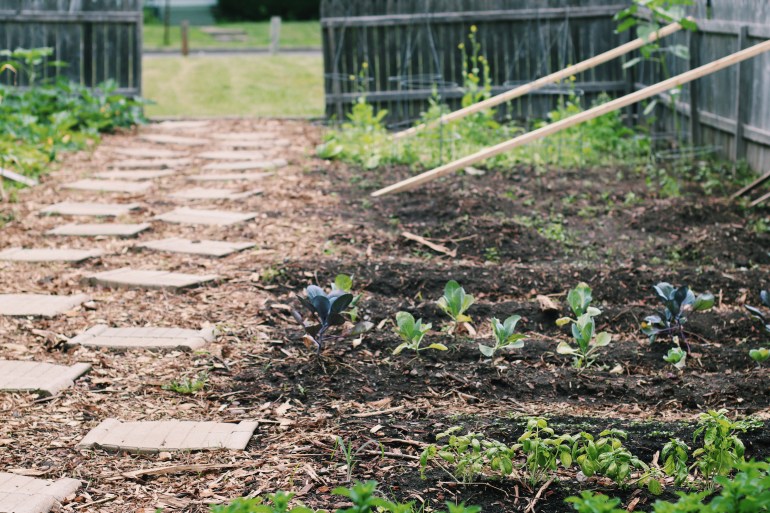
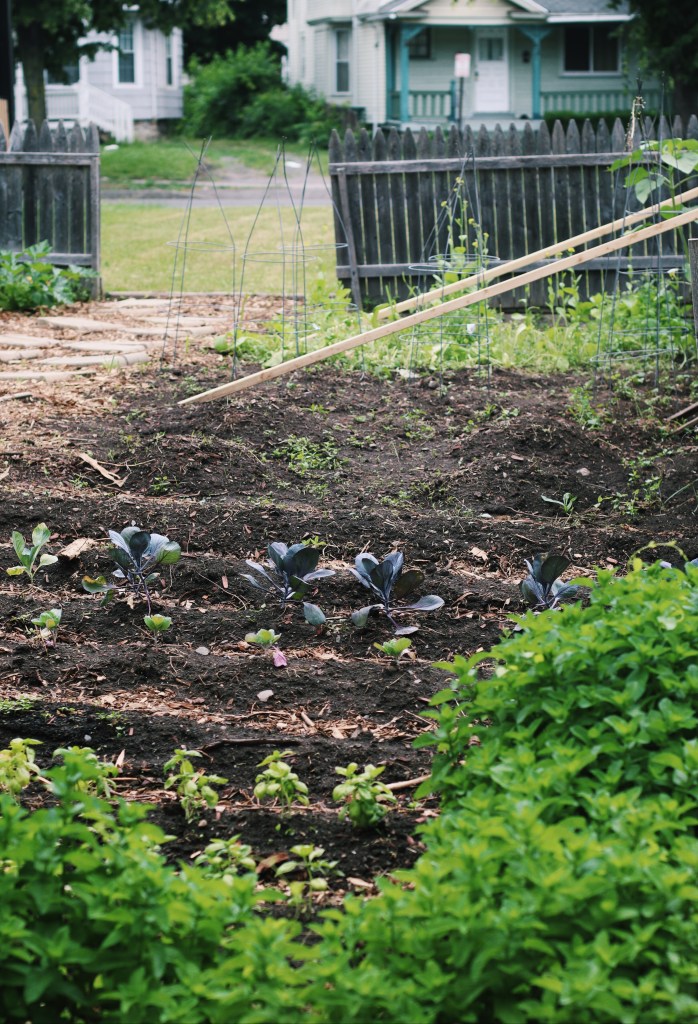
For planting rows, we created some raised mounds/beds to increase drainage of the space and also make it clear to the kids and community members, where crops were growing, and where walking spaces were. We then mulched the walkways with wood chips, and began planting transplants in the beds. We planted cabbage, basil, cilantro, direct seeded arugula, herbs, and okra.
We also planted more eggplant in empty spaces on the other side of the garden, and direct seeded bush beans where other bean seeds had never germinated.
We still had a lot of room to work with and a few more crops we wanted to add to the garden. Crops like watermelon, pole beans, and sunflowers. So we created four raised mounds where we planted 4-6 watermelon seeds. The goal will be for the watermelon plants to trail off the mounds and fill up the space around the mounds.
Then we got creative and planted some pole beans. Now pole beans need structure, as they grow up 6-7ft high, clinging to something, anything, in order to grow. We didn’t have any ideal bean trellises around, so we took some large tomato cages, flipped them over, and used them as bean teepees. We then used stakes to hammer them into the ground, and planted the pole bean seeds around the inside of the base of the tomato cage.
Finally, I planted sunflower seeds around one of the long sides of the garden. The sunflowers will add beauty to the garden that the children and community members will enjoy in late summer.
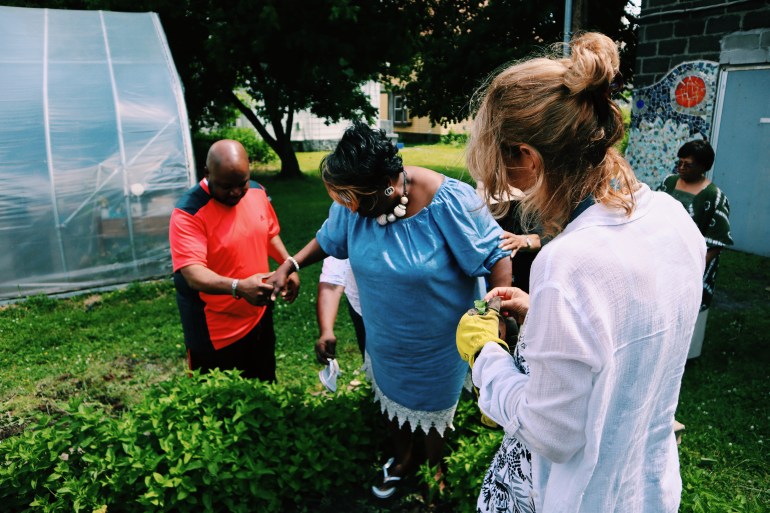
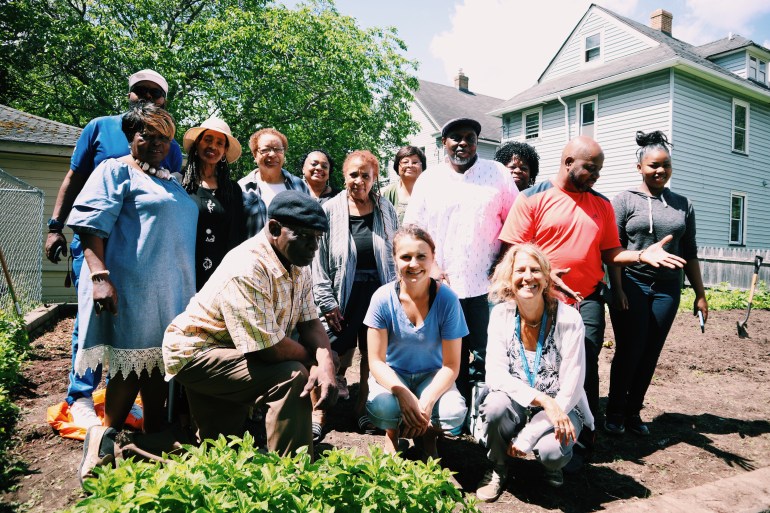
During the day we had a lot of volunteers and community members jumping in to help. It was a blast, lots of jokes and laughter throughout the day, which made hard work seem much lighter.
AFTER
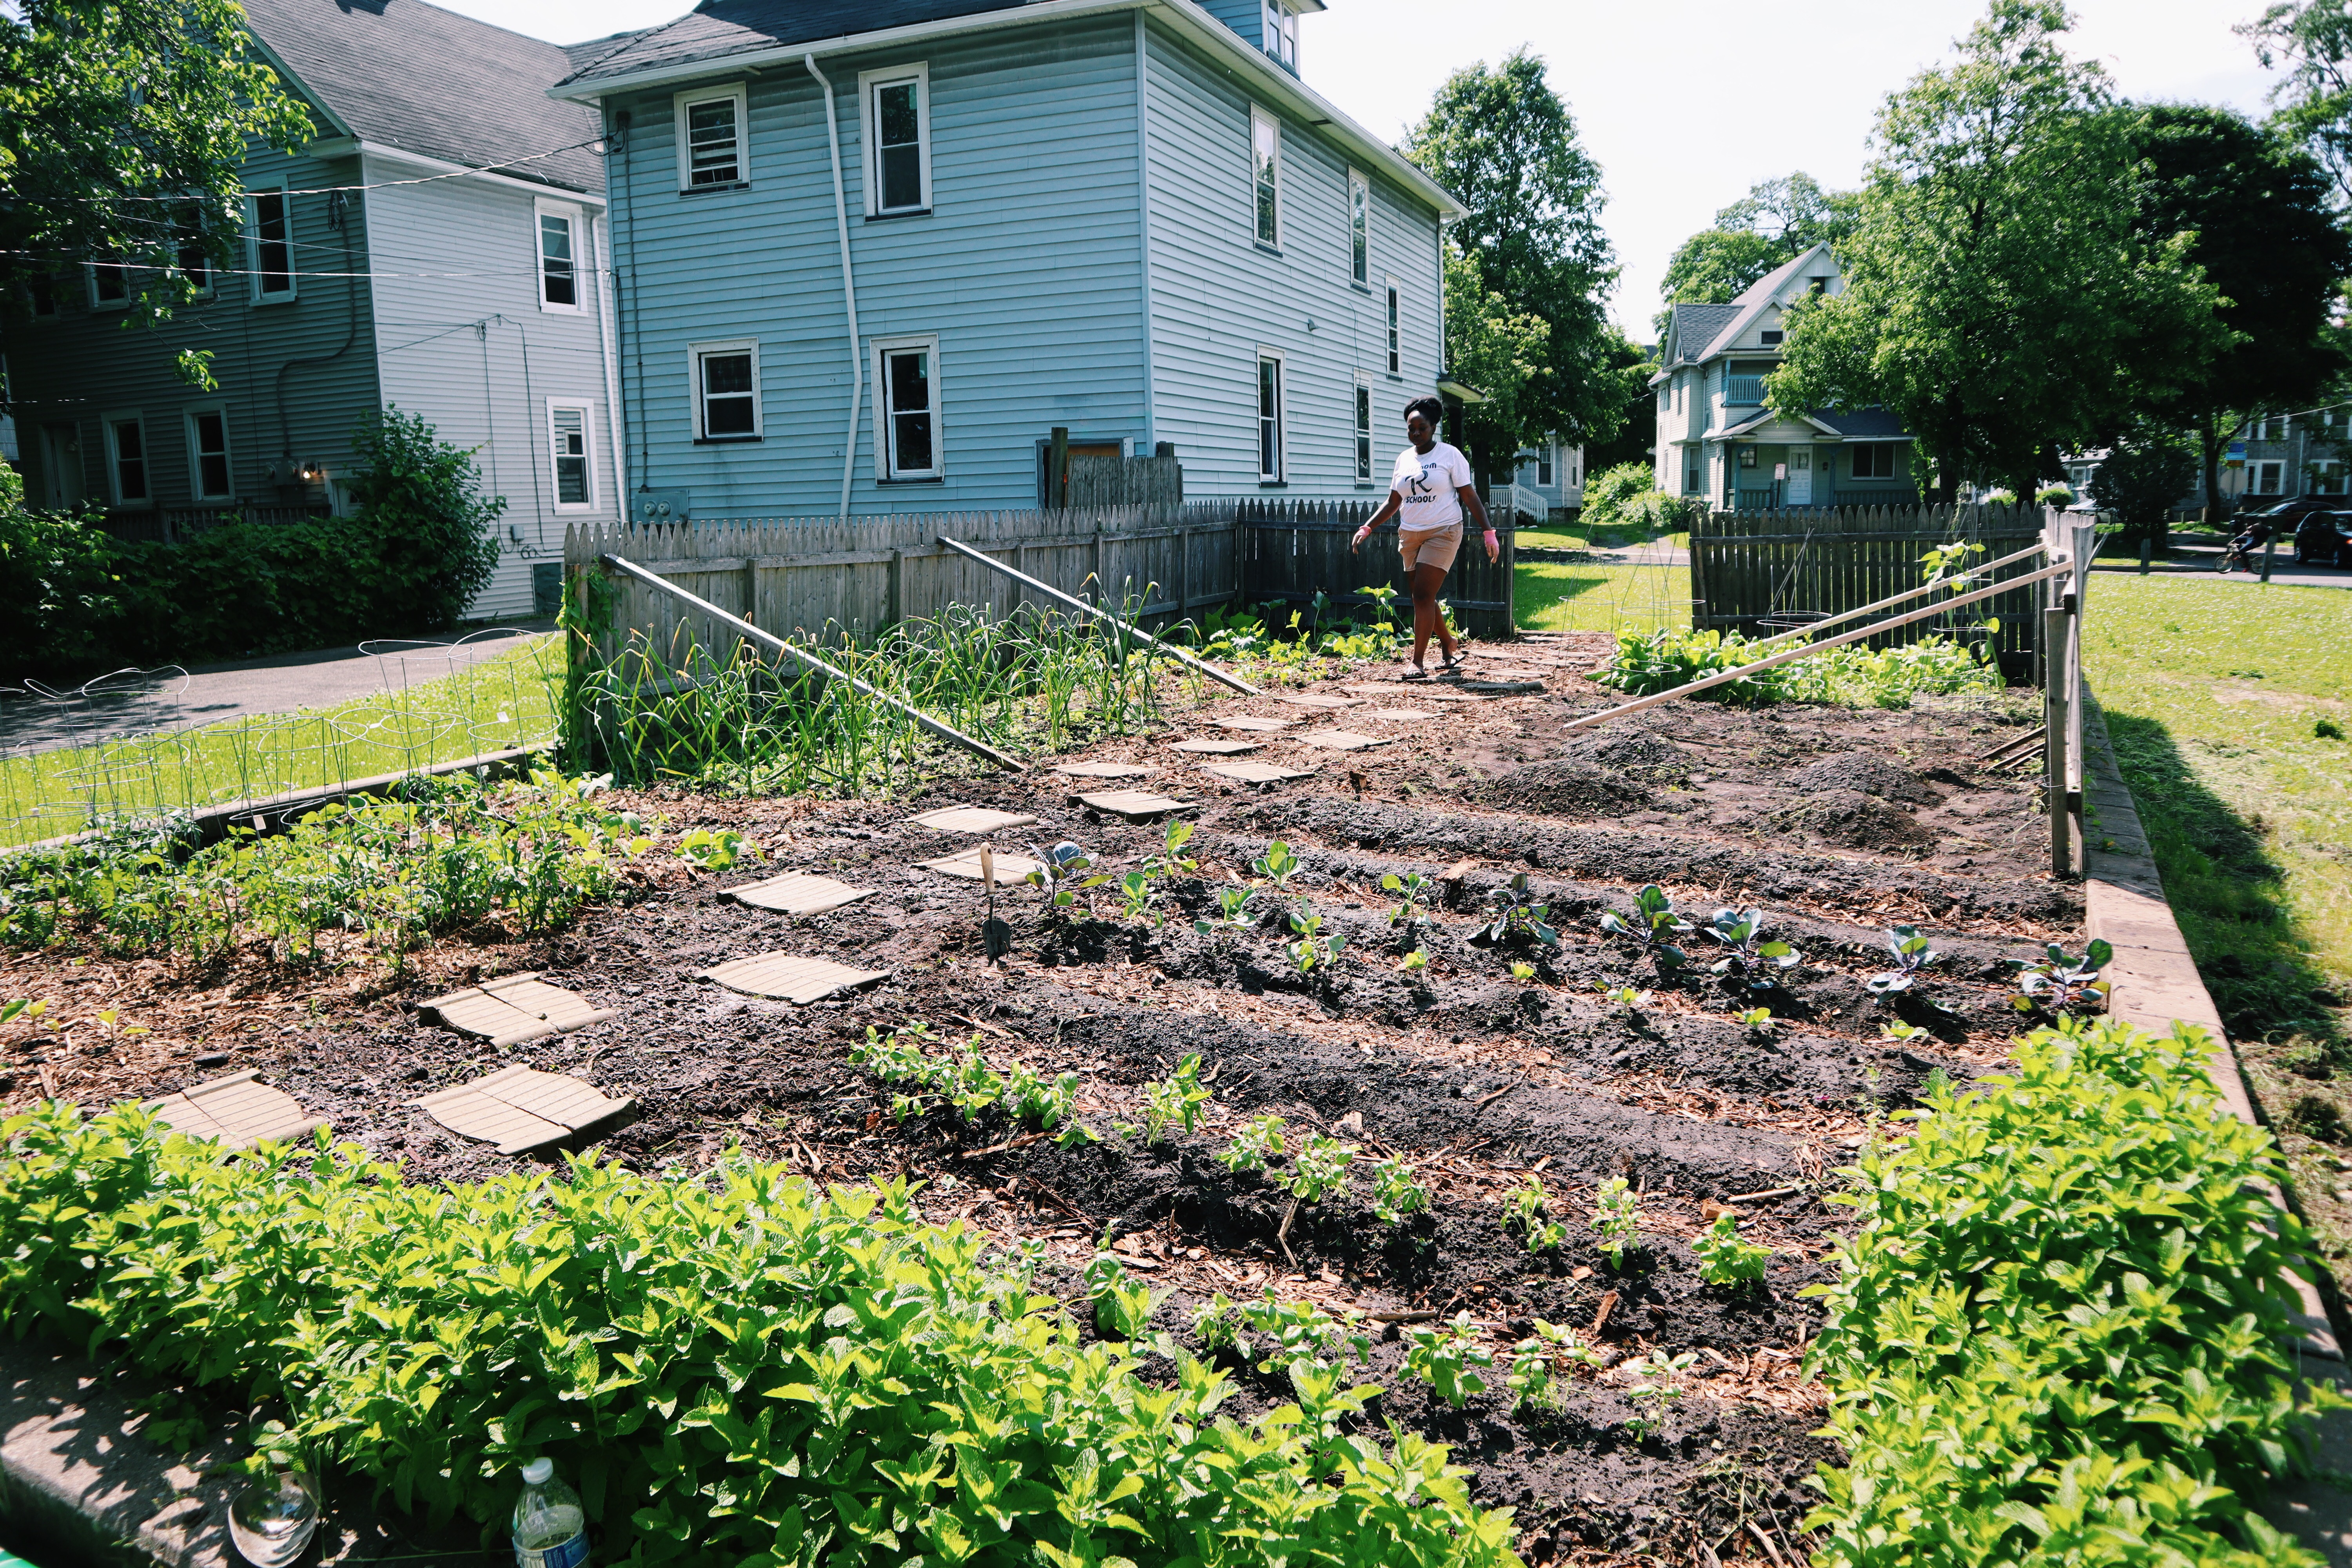
For added beauty, functionality, and organization, we created a central garden pathway using leftover pavers available to the school. This walkway became a highlight of the space, and also will help teach the kids not to run over the plants, but to use the walkways instead.
You can see in the photo below, the upside down tomato cages used as trellising for the bean teepees. You can also see the four raised mounds for watermelon, as well as the raised beds with cabbage and basil.
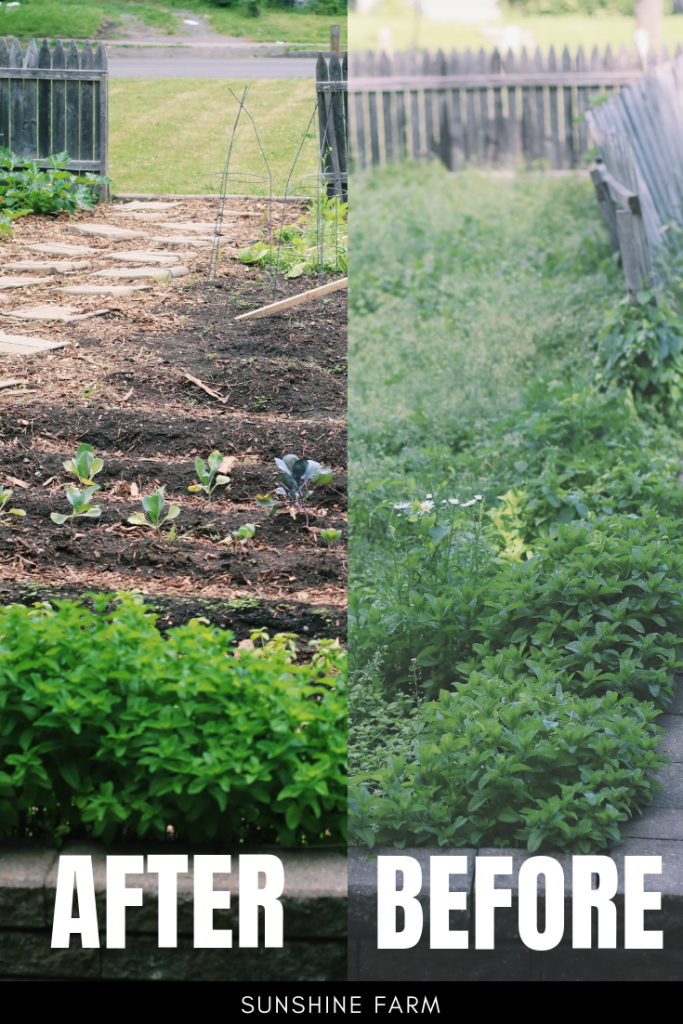
Before vs. After
Finally, here is a side by side comparison of the Freedom School transformation, that took place in only ONE DAY!
I hope this garden makeover inspires you to get out in the garden, to start a garden for the first time, or to get involved in your community garden. Share your questions, inspiration, and ideas in the comments!
All my best,
Jenn
PIN it for Later!

Congratulations to you! That is quite an amazing transformation you have completed. I love the idea of community gardens for many reasons and am so happy to see your successful project! Best of wishes.
LikeLike