This post contains Amazon affiliate links, I receive a small amount of compensation if you choose to purchase from any Amazon links. I only link to products that I know and love.
Friends, my heart is so happy knowing it is already that time of year again. What time you ask? The time to get going on seed starting!
Today I am going to share with you what seeds to start, when to start them, and 5 simple steps to seed starting. This information has come from gardeners, horticulturists, and farmers who have shared their lessons and experiences with me. They have helped me so much, and today I want to share these same lessons and information with you, all about seed starting 101.
What Seeds to Start
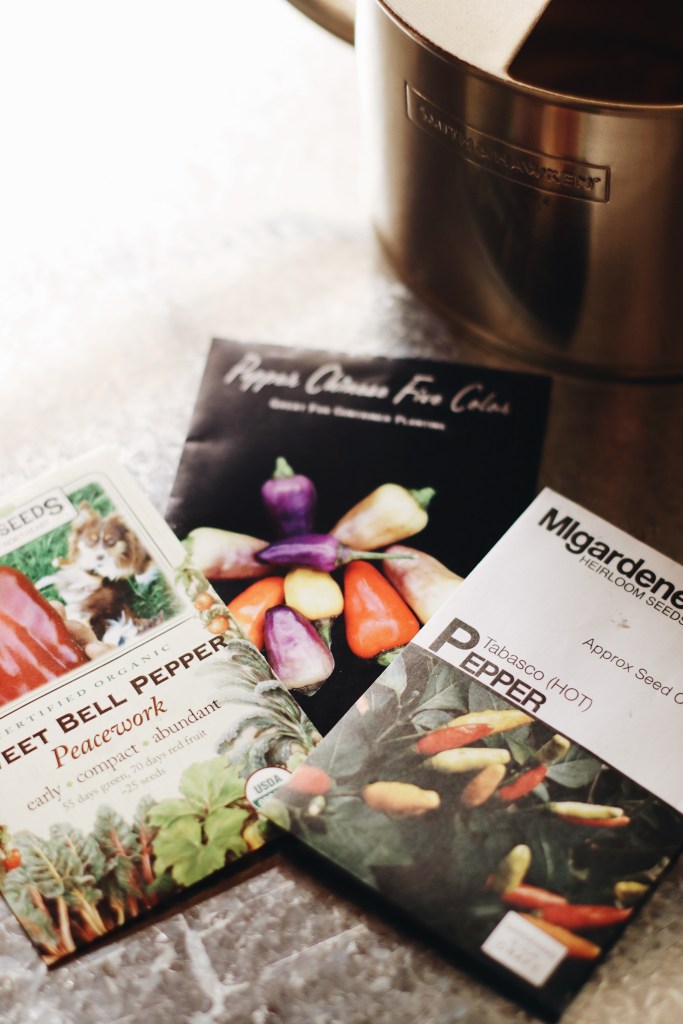
You may be really excited about your radishes, watermelons, cucumbers, beans, and peas. You may be SO excited that they are the first things you want to start. Don’t do it friends! These varieties, in addition to many others, do NOT like to be transplanting, meaning they want to stay exactly where they are seeded. These types of plants do best when they are sown directly in your garden. The good news is that there are many things you can start indoors! Plants like tomatoes, peppers, lettuce varieties, kale, cauliflower, eggplant, broccoli, Brussels sprouts. See, I told you! There are lots of things!
Organic Growers School provides this list of things to direct sow:
- Beans
- Beets
- Carrots
- Melons
- Peas
- Radish
- Spinach
- Squashes
- Turnips
- Zucchini
- Melons
My one caveat to this, is that certain crops may do better direct sown, but can still be transplanted, they just won’t be as prolific in many cases. I did have success transplanting beets last year, even though they are supposed to be direct sown.

So go ahead and pick some seeds that CAN be transplanted and get those going indoors for an earlier harvest. You’re going to want to read through the next section to have an idea on which crops to get started first!
When to Start Seeds
Before I go into the 5 steps for seed starting, it is important to know WHEN to start seeds. This is entirely based on 1) what you are planting; and 2) where you live! Now I have friends getting ready to put peppers and tomatoes in the soil; however, in Upstate NY we still have snow on the ground. The one thing you really want to know is your final frost date, meaning the last date that your region experiences a frost on average.
Farmer’s Almanac is a great resource for this, you can enter in your location and they will provide you with a breakdown of your final frost for the season, which will help you determine when to start your seeds.
Some things are cold hardy, meaning they are able to handle colder temperatures and even frost. These things you can, and often should, start sooner than your summer crops. Plants like kale and broccoli fit in this category. So do peas, root vegetables (e.g., carrots, radishes). Onions also need to be started early if you are using seeds instead of sets (I know there is a lot of terminology!)
There are some really helpful online resources for when to start specific crops for your region. For example, the Urban Farmer gives a full breakdown of when to plant what in New York State, depending on your specific hardiness zone. Your hardiness zone helps determine what you can grow in your climate depending on how long of a growing season you have, and how cold it gets in your region.

You can see what the hardiness zones look like across New York State in the photo above. Side note, aren’t the colors so pretty?? The higher the zone, the longer the growing season and the warmer the region. Where we live in Upstate NY, we have a hardiness zone of 6; whereas, portions of California might have a zone of 10.
Now, we are going to get to the fun part! Here are my 5 steps to seed starting.
5 Steps for Seed Starting

At this point you have decided what you should plant, and you know when to plant, now it is actually time to get planting!! Yay! Welcome to the really exciting part my friends. While I know it is so exciting, I also know it can be intimidating and scary to actually plant those seeds you’ve been dreaming about. To have healthy seedlings that produce food in the garden, there a few things to keep in mind when planting, and a few things to do right after you plant. This post will break it down for you simply, step by step.
Step 1 | Prep Your Seeds & Markers
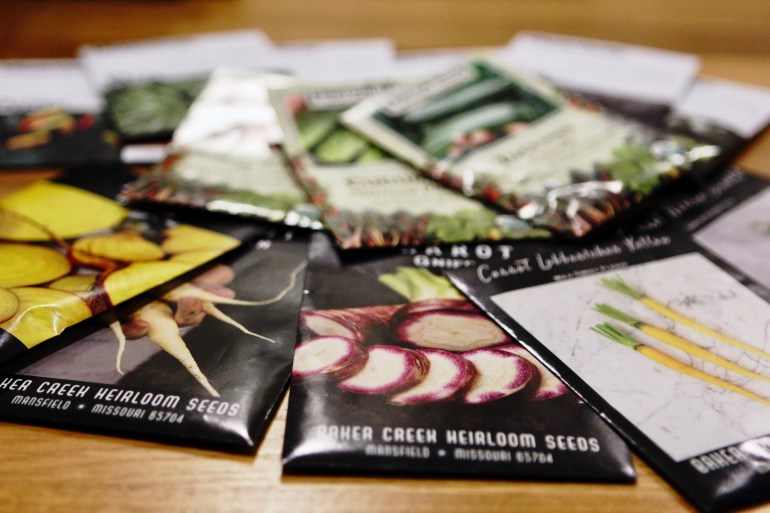
Before you start working with soil and water, get those seed packets and markers ready to go. Decide how much of which varieties you’re going to plant and lay your seeds out in a water safe location. The last thing you want is to spill water all over your seeds and damage the viability of them in future years.
Write out your markers so that you can place them in the calls directly after planting. Once those seeds are out of the packet and in the soil, without marking, it is going to be impossible to tell which varieties you planted, possibly until they begin fruiting, many months later. Write out your markers beforehand so you don’t run into this issue. We like to use these plain white markers.

Step 2 | Moisten Your Soil
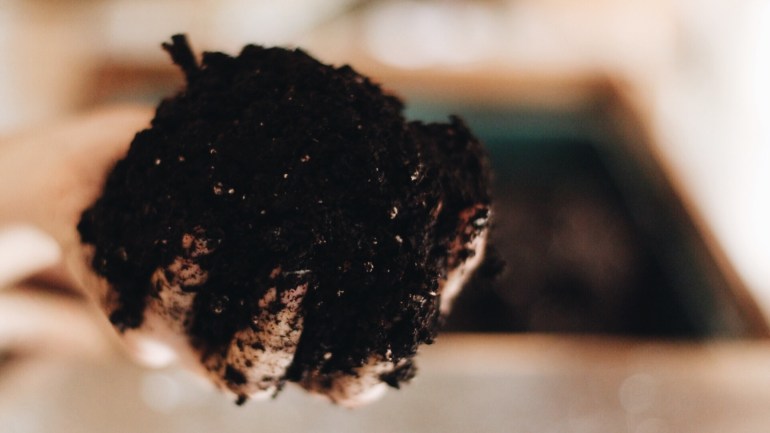
This step is SO important!! Please, please, please moisten your soil BEFORE adding it to whatever pots, trays, or cells you are using. The soil is not going to be able to absorb the moisture without pre-mixing it.
You are going to notice a huge difference in the quality and health of your seedlings if you pre-moisten the soil before adding it to your cells.
So, how moist should it be?
Cake-like in consistency is just right! If it is dripping, it is too wet, if it crumbles apart easily, it is too dry.
If you are still confused, I covered all of this in the video above, and even show you detailed shots of what it looks like when it is too dry, too wet, and just right.
Step 3 | Add Soil to Your Trays and/or Cells
Once you have your soil mixed with water and at the right level of moisture, go ahead and add your soil to your cells or trays. level out the soil, but avoid pressing it into the cells. Instead you will want to tamp the tray or pots, which brings us to the third step for seed starting!

What soil should I use?
You have two options for this, either a high quality potting soil, I use organic potting soil from the Coast of Maine

OR
You can find seed starting mix. Often this is quite similar to a high quality potting soil. It can be harder to find organic seed starting options that are high quality. Avoid Miracle Grow or brands like Burpee, which tend to lack the high quality compost. One great option is Espoma Organic Seed Starting Mix.

While you may have some lovely compost and/or soil outside ready to go in your garden, do NOT use this for seed starting. The particles are often not broken down enough or fine enough for seeds to germinate. In addition to your baby plants will not be able to absorb enough nutrients quickly to grow strong root systems.
What are the best cells and trays to use?
There are so many options when trying to decide which cells and trays to purchase. You can purchase pots, large cell-type trays, bottom trays, or even supplies to use the soil blocking method. If you are just getting started, I recommend buying cell trays with bottom trays to go with them (the often come together).

I recently purchased new cells and trays that I am really happy with! Previously I used the standard cells and trays that you can purchase at the store, but these are cheaply made, quite flimsy, and will bend and break easily. They work well for a season, but don’t hold up over time, which is why I decided to go in a different direction this year. I purchased very durable trays from the Bootstrap Farmer and they ROCK! They hold a lot of weight, do not bend or snap, and make it much easier for me to move them without everything spilling out. For just over $25, I bought a starter set of 5, 32-cell trays. These also came with 5 additional bottom trays.

Step 4 | Tamp the Soil
So what in the world is tamping and why is it better than pressing? What happens when you put soil into a pot, is even though it looks like it is filled to the top, there are still air pockets throughout. These air pockets are going to deprive your plants of nutrients. This is where tamping comes in.
Tamping is essentially taking the tray, lifting it gently off of the surface you are using (let’s say a table), and lightly hitting the whole tray against the table to let the soil settle in to all of those air pockets. If this is not making sense to you, I demonstrated it in the video above for those who are visual learners.
Tamping is better than pressing in the soil, because it naturally settles all of those air pockets, and levels out the soil; whereas pressing, forces the soil to be more compact than it should, while also missing some of those air pockets.
Step 5 | Plant the Seeds!
First make shallow indentations or holes for your seeds.
Now it is time to make your little holes for planting! Make these shallow. You generally only want to plant seeds 2 times the diameter of the seed. So if we are talking about beans or corn, you can plant them a little deeper, but with a tiny little pepper seed, or maybe even a teeny tiny lettuce seed, think SHALLOW. You really just want to ensure good contact with the soil.
My favorite way to make the indentations for planting, is using the back of a sharpie! It makes the perfect little shallow hole with just a little pressure. Plus I can use it to write out my markers.
Plant the Seeds and LIGHTLY Cover
Lightly brush the soil over the pockets where you’ve placed your seeds. It is good to have sufficient light when you are doing this, so that you make sure you cover your seeds and don’t miss any.
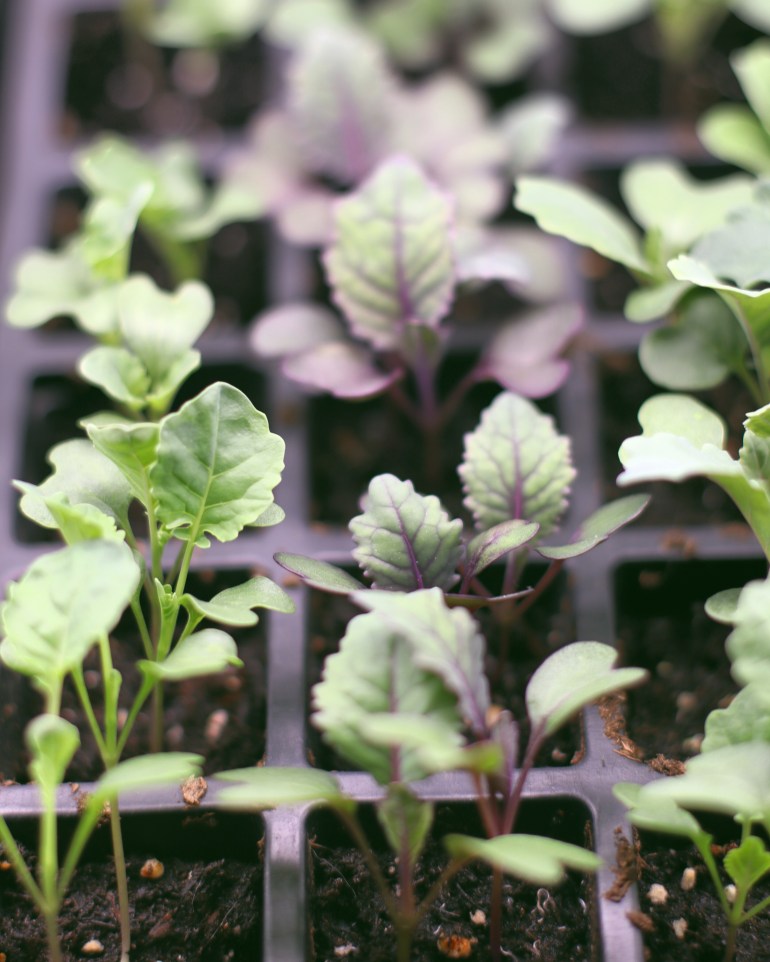
Seedlings a week after planting with their true leaves
What’s Next Once the Seeds Are Planted?
Decide if You’re Going to Use Heating Mat
Place your tray on a heating mat if desired. This is especially helpful for plants that need or like heat in order to germinate. Onions, peppers, celery are just a few plants that will really benefit from a heating mat. You can buy them for just over $10 from Amazon.

What About a Humidity Dome?
Humidity domes are frequently used in the germination process to support a moist environment in which seeds can quickly germinate. They are not necessary, but many growers like to use them. At the moment I have chosen not to use humidity domes, and instead to bottom water my trays so that the soil stays nice and moist.
If I do decide to use humidity domes in the future, I am going to be purchase them from the Bootstrap Farmer, or another similar brand, that offers domes with ventilation, to decrease the risk of mold or fungus growth.

Use Adequate Lighting. A Window is Generally Not Sufficient
You may have heard to place your trays near a south-facing window or on a windowsill. In my experience, and in the experiences of other gardeners I know, most of the time this simply won’t cut it. The exception would be if you have a sun porch, sun room, or other interior space that receives substantially more light than your average room. As you can see below, last year I relied on window light and my seedlings were far too “leggy” (meaning tall and skinny, stretching towards the light).

You can find expensive grow lights online, but you can also use less expensive LEDs at the right Kelvin (color temperature) and with enough Lumens (Light output). I will dive deeper into this in another blog post, but for now here are the specifications on the 4ft. LED shop lights we chose:
- 4000K (Kelvin)
- 3700 Lumens
We have four, 4ft. shop lights on our DIY Black Pipe Seed Starting Station. One of my favorite parts about them is they’re adjustable!


Well friends, that’s all for now. I cannot wait to share more gardening lessons with you. There are always lessons to be learned in the garden. Plants are wonderful teachers!
As always, all my best,
Jenn
Want to save this post? PIN it for later!


2 thoughts on “Seed Starting 101 | Complete Guide to Seed Starting”