This post contains Amazon affiliate links, I receive a small amount of compensation if you choose to purchase from any Amazon links. I only link to products that I know and love.
Last year was the very first year I started seeds, or really gardened at all. I had no plan in place, no location for seed starting, I simply ordered seeds online and jumped right into it!
Well, friends, this was not the best idea. I struggled through March, April, and May to find any sunny locations in our house to keep the baby plants. I used TV tables, window sills, random kitchen carts, WHATEVER I could find to hold all my precious seedlings and expose them to as much light as possible.
So when 2019 rolled through and it was time to start thinking of seed starting again, I knew I wanted something functional. I planned on purchasing a generic shelving unit off of Amazon. One of those wire grate units that are pretty standard for seed starting.
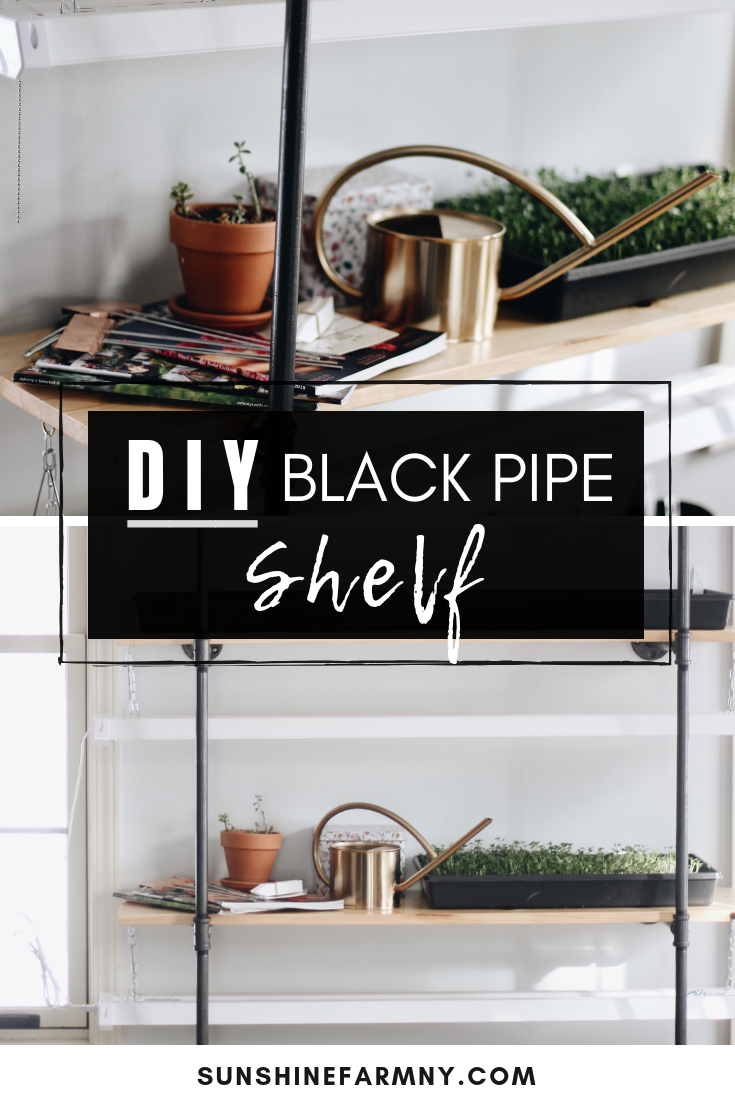
Well… Chris had a whole different idea. He came up with this multi-purpose black pipe shelving unit that would function perfectly for seeds, match the decor of our home, and also act as a bookshelf or wall unit throughout the year, even if we are not using it to grow plants. Although, if I am being honest… I’m pretty sure I’m going to want to grow microgreens ALL YEAR LONG!
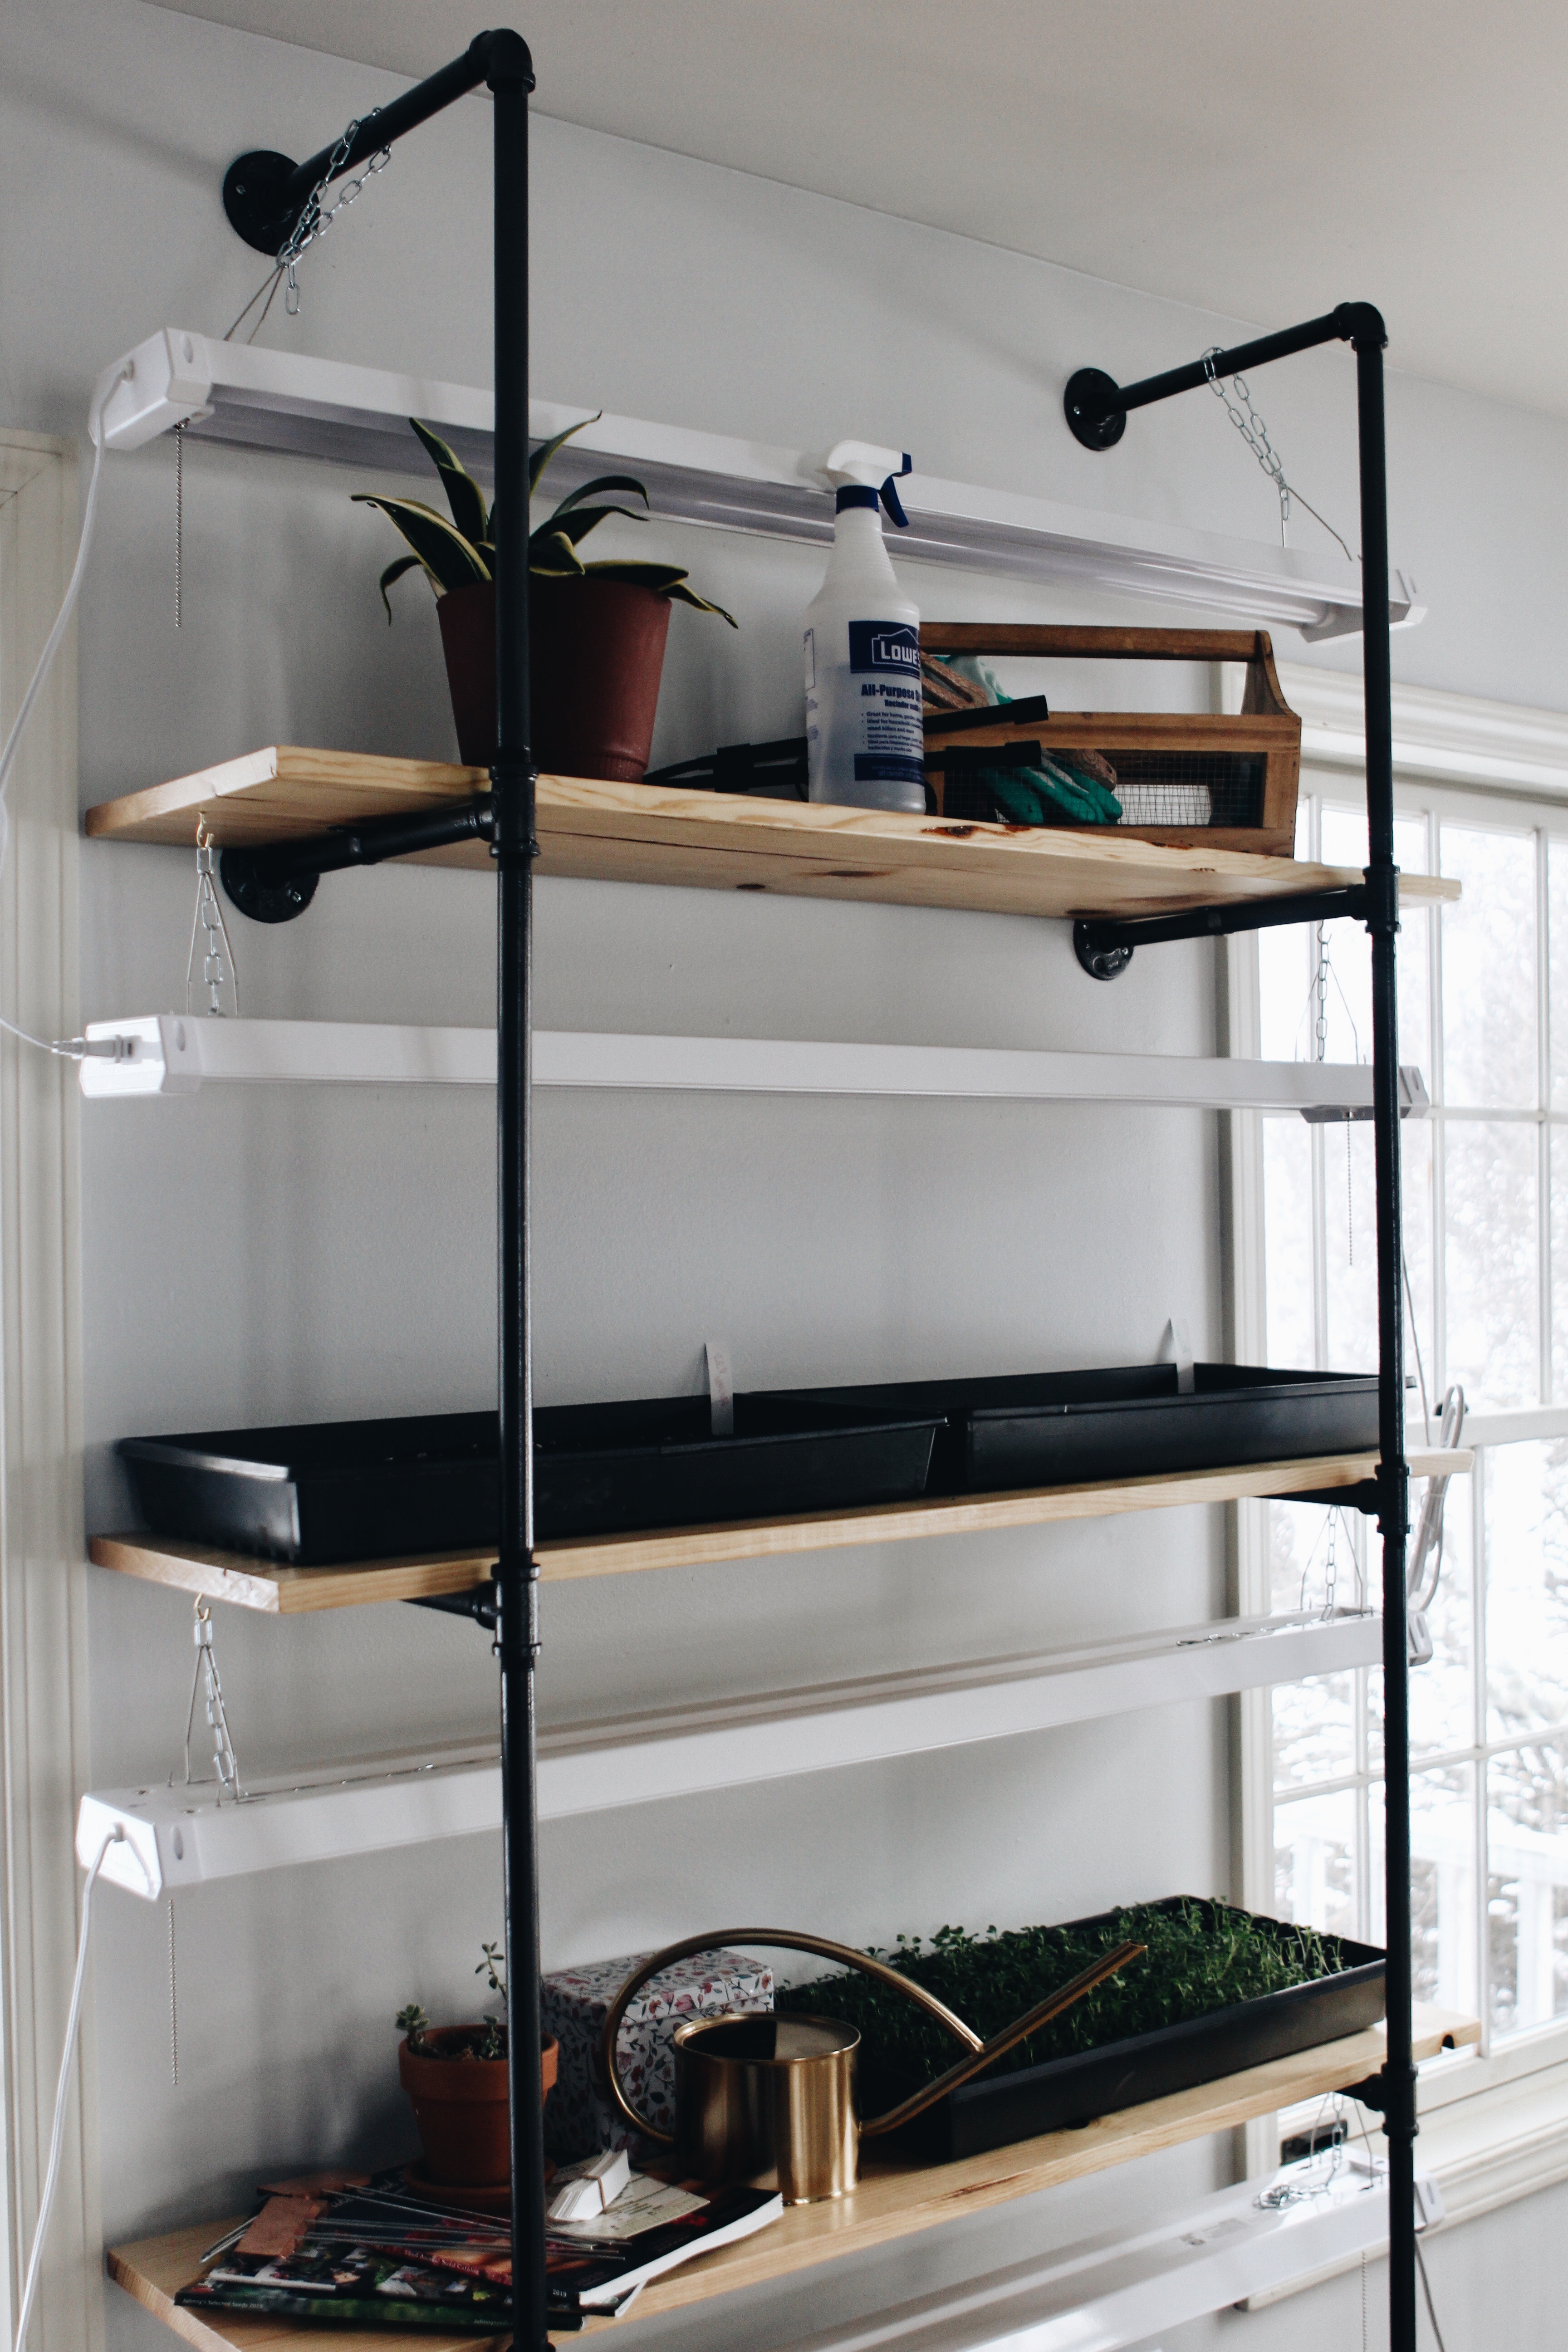

Materials Needed for Black Pipe Shelf
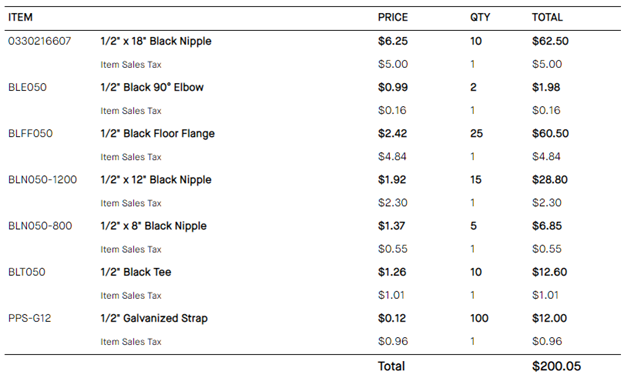
Black Pipe Pieces
½” Galvanized Pipe Strap, Quantity (8)
½” Black Tee, Quantity (8)
½” Black 90 Elbow, Quantity (2)
½” Black Floor Flange, Quantity (12)
18” ½” Black Nipple, Quantity (8)
12” ½” Black Nipple, Quantity (12)
Wood
1”x12”x8’ Pine Shelf Board, Quantity (2)
Lighting
Feit 4’ LED Shop Light, Quantity (4)
- Item from Costco
- Item from Amazon (Amazon option for non-Costco members)
Finishing Supplies
MinWax Satin Polyurethane
Rustoleum Hammered Black Spray Paint

Steps
The Frame
- Measure your space and decide which style shop lights you will use – this will determine the dimensions of the shelf you will build.
- Assemble the shelf frames:
- Start from the bottom with a floor flange and 12” nipple, followed by a tee.
- Insert a 12” nipple into the 90° opening of the tee, and an 18” nipple into the straight portion of the tee.
- Repeat these steps for as many shelves as you would like. Then, at the top of the last 18” nipple install a 90° elbow and one last 12” nipple.
- Install a floor flange at the end of each horizontal 12” nipple. These will be mounted to the wall.
- Hand tighten all of the threaded joints until there is no wobble in the threads. These connections will not need to be overly tight since they will be mounted to the wall.
- Wipe the shelf frames down in mineral spirits or another cleaning solution to remove any oil or residue on the piping.
- Spray paint the shelf frames a color of your choosing (we used a hammered black finish).
- You can spray paint the pipe straps at this time which will be used when installing the shelves.
- Once dry, place the shelf frames up against the wall and use a level to ensure they are installed straight up and down. Mark the locations of the screw holes in the flange with a pencil.
- If the flanges line up with a stud, pre-drill the hole and skip to step 7. Otherwise, install at least two drywall anchors per flange. These won’t need to hold much weight since the shelf rests on the floor but they will ensure that the shelf does not pull out of the wall.
- Align the shelf frames over the anchors and/or drill holes and drive screws through the flanges and into the wall.
The Shelves
- Measure out the desired shelf length on a piece of 1×12 and cut to size with whatever saw you may have on hand (4 total for this version).
- Sand the shelves first using a medium grain sandpaper (~120 grit) to remove obvious imperfections. Lightly sand once more with a fine grain sandpaper (~220 grit or higher) to prepare the surface for finishing.
- If you choose to stain your shelves, apply a pre-stain conditioner and then follow manufacturer instructions to apply your stain.
- Seal the shelves with, at minimum, 2 coats of polyurethane. I elected to experiment and use a roller for this step and it turned out quite well. In total we applied 3 coats of polyurethane.
- After allowing proper time for the polyurethane to dry, place the shelves on the frames and line them up so that they overhang evenly on each side.
- Attach the shelves to the frame using pipe straps and 1/2” or 5/8” screws.


The Lights
- Line up each shop light with the bottom of the shelf above and make a mark where the hangers attach to each end of the light fixture.
- Pre-drill a small hole at the mark and install screw hooks in the shelves.
- Hang the lights from the screw hooks at the desired height. The height of the fixtures can be adjusted as the seedlings grow taller.

That’s all for now friends! What do YOU use to start seeds for the spring? Comment below and let us know!
All my best,
Jenn
*We are a participant of Amazon Associates, an affiliate program of Amazon that allows us to earn a percentage of purchased made through our links provided, without any added cost to you!

Looks great and so functional. You two make a great team!
LikeLiked by 1 person
Thank you!! He did an AWESOME job!
LikeLike
Super cute! I love this style!
LikeLiked by 1 person
Thank you! I’m really loving the minimal, industrial, and modern farmhouse combination going on here.
LikeLike
Oh I LOVE THIS!!! What a great tutorial and rescource!
LikeLiked by 1 person
Thank you friend!! We are SO happy with it!!
LikeLike
This is so wonderful! The perfect little seed starting spot without having to take up too much space!
LikeLiked by 1 person
Totally! It obviously wouldn’t work if you’re looking to start plants indoors on a huge scale, but I think so many things can be direct seeded anyways, and the nice thing about this little shelf is that it is multipurpose, so it can function well in a small space too!
LikeLike
Love this idea!! Love the way it looks and that it’s off the ground!
LikeLiked by 1 person
Thank you!! We are SO happy with it so far. It’s incredibly easy to use, looks great, and all of my plants are growing perfectly!
LikeLike