This post contains Amazon affiliate links, I receive a small amount of compensation if you choose to purchase from any Amazon links. I only link to products that I know and love.

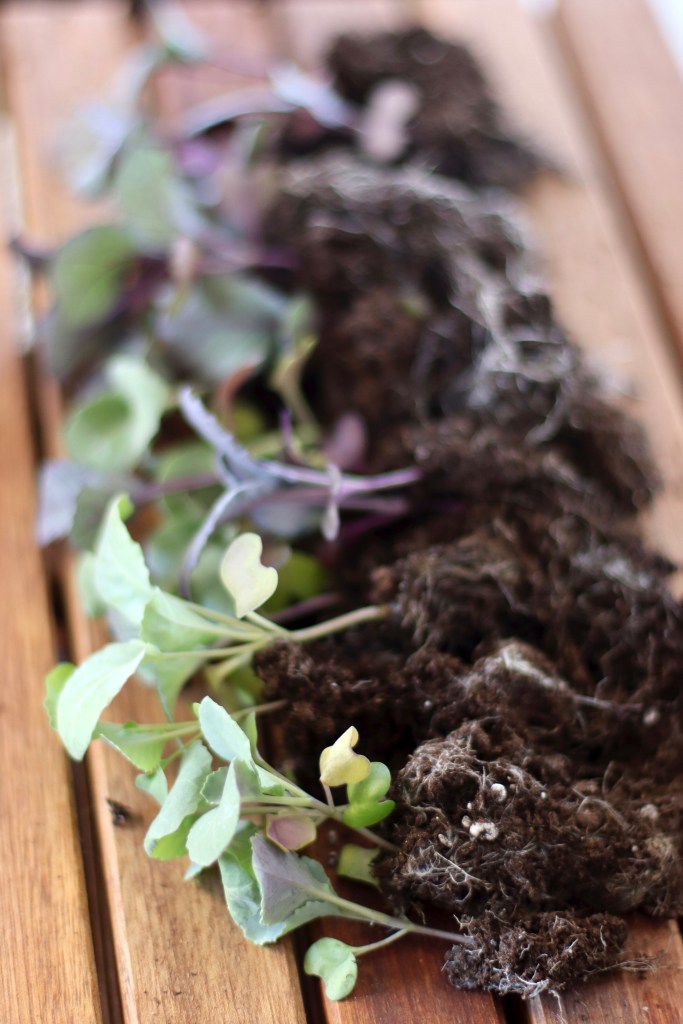
Seed starting season is upon us! If you are anything like I was in my first year seed starting, you are feeling overwhelmed and a little lost as to what you need. My first year I ordered seeds, picked up peat pots, and a single grow light that provided very little coverage. I ended up with very leggy and weak seedlings because I made so many mistakes that first year.

In all of those mistakes I learned how important it is to be equipped with the right tools for seed starting. With the right tools, and the right resources on how to use them, you will be successful! Think of seed starting as an intricate science, if you follow the right equation, your seeds will sprout and grow into strong seedlings ready to plant in the ground.
So what exactly do you need for the components of this seed starting equation? Let’s go over everything together, below. If you already have your tools and you are looking for information on HOW to start seeds, check out this blog post and the video below:
Seeds
To start happy, healthy seedlings, you of course need seeds! Seems simple, I know, but I remember being so confused with this step. How many seeds would I need? Which varieties do I buy? What is the difference between heirlooms, organic, hybrids, and what is the deal with GMOs?
I had so many questions. I asked a gardener friend, the only person I knew who had started seeds before, where she bought hers. So I headed over to Johnny’s seeds online and purchased varieties of tomatoes, peppers, broccoli, cauliflower, Brussels sprouts, chard, beets, carrots, winter squashes, and cantaloupe.
I had no clue what varieties I was purchasing. I didn’t even know much about Johnny’s Seeds as a seed company (luckily I turned out to love the seeds!), or that there were other seed companies local to me that I could purchase from. I knew nothing, and my goal here is to help equip you with just enough knowledge to feel less overwhelmed than I did, and more ready for seed starting so that you can be confident and successful.

I took many of my mistakes, and the mistakes of other friends I know, and wrote a blog post composed of seven tips for ordering seeds: 1) order locally; 2) window shop first; 3) prepare a list in advance; 4) consider timing; 5) don’t overdo it; 6) order for function first; and 7) navigating heirlooms, hybrids, GMO’s.
- Visit the full blog post and explanation of these tips, HERE.
One of the biggest questions I get asked about buying seeds, is “where do I buy seeds?” followed by, “do you know of a seed company in x, y, or z state?” Luckily for you, I took some time to develop a complete list of seed companies that sell heirlooms. These companies are predominantly small, family-owned companies, and offer excellent products, including many rare and unique varieties of crops.
- Visit the blog post for the complete list of seed companies in the US, organized by state, HERE.
Soil
There are two main options for seed starting soil: 1) high quality potting mix; and 2) seed starting soil. The latter of which you can make yourself if you’re looking for a DIY option.
Potting Mix Options
A few organic potting mix options that you can buy online, below. Be sure to check out local nurseries for organic and high quality options near you. Avoid big box stores, and instead check out small nurseries.
- Coast of Maine Potting Mix, my personal favorite
- Espoma Organic Potting Mix
- Fox Farm Organic Potting Mix

Seed Starting Soil
Seed starting soil is often a little lighter than potting mix, possibly making germination rates higher, but having lower levels of nutrients than high quality potting mixes.

DIY Seed Starting Mix
There are lots of recipes online, here is a quick and easy DIY-blend you can make with a few ingredients.
- 3 parts compost (screened). You can use a compost blend, like my favorite compost blend, Bumper Crop
- 1 part vermiculite
- 1 part perlite
Containers for Seed Starting
It is so easy to be overwhelmed by the many different options for seed starting containers. My first year I used peat containers, and that was my first mistake. The container you use makes a big difference in terms of moisture retention, root health, and the overall strength of your seedlings. I have three main recommendations for the type of containers for seed starting. First, using standard cells and trays; second, using a soil blocking method; and third, using biodegradable grow bags.
Before you start your seeds, make sure you are starting the right crops indoors. Some crops do NOT like to be started indoors, and do much better direct seeded (AKA directly in the ground). Refer to the Seed Starting 101 blog post for more information on this.
Cell trays, pots, OR soil blocker
- 72 count seed starting cells are a great choice if you plan to transplant directly into the ground soon after starting, or if you are starting A LOT of seeds and have a lot of space, like a greenhouse. These are not a great choice if you are starting many weeks before planting and if you are limited on space. instead go with soil blocks or larger pots, like the options below.

- My favorite 3.5″ durable seed starting pots. I’ve used these for years and have been able to reuse them again and again without damage. They’re the perfect size for lots of root growth before transplanting in the ground, and they fit well in 1020 trays.

- 1020 trays with drainage holes to be used with soil blocks on top of trays without drainage holes. Or use starting trays below alone.

- Soil blocker allows you to create soil blocks to start your seeds. Soil blocks are easy to use because you can easily transplant seedlings into larger container or into the ground. Air acts as a natural barrier preventing seedlings from being root bound, which leads to stronger, healthier seedlings! All around a great choice, but there can be a little bit of a learning curve.

1020 Seed Starting Trays
- Standard 5 pack of 1020 trays. Good for cell inserts. May need to double up for durability.

- Durable 5 pack of 1020 trays. Good for soil blocking. Very thick!

Biodegradeable Fabric Grow Bags
- These biodegradeable grow bags are a great choice if you want to easily transplant into the ground. A lot of bags fit in a tray, so it is also a great choice for maximizing indoor growing space, which is why I like them so much. They work great for bottom watering, and offer lots of room for root growth. Pro-tip: they can be a challenge to use, and are easier to plant in if you flip them inside out.

Markers
Before you get planting, you want to have something to mark the varieties you start in each cell and/or tray. Even though some seedlings have identifiable characteristics, it is impossible (or extremely difficult) to tell between different varieties of the same crop. Make sure you mark your plants, so you know exactly what is what. When you try that fruit or veggie for the first time, you want to be sure you know which variety you are trying.
To mark your seedlings when planting, here are a couple different marker options, my favorite happens to be the popsicle sticks. Low cost and easy to use!

- Plastic Markers. These are a nice durable option to use for long term; however, they are less natural than the above option, and it may be difficult to find markers that do not wash away with water.

- Copper Markers. These are definitely beautiful, but are more expensive and may not hold up well to weather. Although they do add a lot of beauty to a space!

Watering can
A few watering cans are a must-have item when you’re a gardener. This starts with seed starting! Over the years I have used watering cans, mason jars, and even my blender to water my plants, bringing large amounts of water back and forth between the kitchen and the grow room. Dedicated watering cans are the best choice because they’re great at avoiding spills and the easiest to carry. I use watering cans to bottom water my seedlings, which is my preferred method! You can read more about bottom watering in my blog post about seed starting.
- Decorative and functional watering can. I’ve used something like this in previous years. I got mine specifically from Target, but it looks just like the one pictured below. if you’re looking for something aesthetic that can be used as decoration and something functional for watering your seedlings, this is a good option.

- Durable plastic watering can. This is a good option that holds 1/2 a gallon. I just ordered it myself and am looking forward to using it this season.

Grow lights
Shop Lights
Shop lights offer a low cost alternative and can provide sufficient indoor lighting as long as you choose lights with the right specifications. We use 42 watt bulbs with 4,000 lumens and 4,000K cool white.
- Our favorite low cost shop lights from Costco that we use as grow lights due to the lighting specs (4,000 lumens, 4,000 K)
- Another option from Amazon with similar light specifications and a wider application of light.

Grow lights specifically designed for indoor growing
If you want to go for lights specifically designed for indoor growing, you definitely want to choose high quality lights, and these are rather pricey, which is why we chose an alternative option. The cheap grow lights you can find online do not provide adequate lighting, and you will likely end up with weak, leggy, plants.
The below light is an example of a grow light with the right specs to be able to grow well indoors. Each light will cost you about $280, but is a good investment for longterm indoor growing.

Heat mat
If you are growing indoors in a standard room without extra heat or without a greenhouse-type setup, you are going to want to purchase a heat mat to speed up the growing process, especially for crops like peppers, ginger, and other heat loving crops.


Shelving unit, table, or other surface for seedlings
In addition to all of the above, you are going to need a space set up for your seedlings to live! The easiest way to do this is create a vertical growing space along a wall. This way you can maximize your space without interfering too much on your living space. We have setup a functional and aesthetically pleasing grow rack using this DIY tutorial.


Another option is to purchase something that is ready to go. It may be less pretty, but it can be easy to turn into a grow rack and get started right away. This is a good option if you’re limited on time, and it also is a low cost option compared to alternatives.

Now that you know what you need to start growing, head on over to the next blog post, a complete guide to seed starting!
Seed Starting 101
Complete Guide to Seed Starting
Save for later! PIN this post


