This post contains Amazon affiliate links, I receive a small amount of compensation if you choose to purchase from any Amazon links. I only link to products that I know and love.
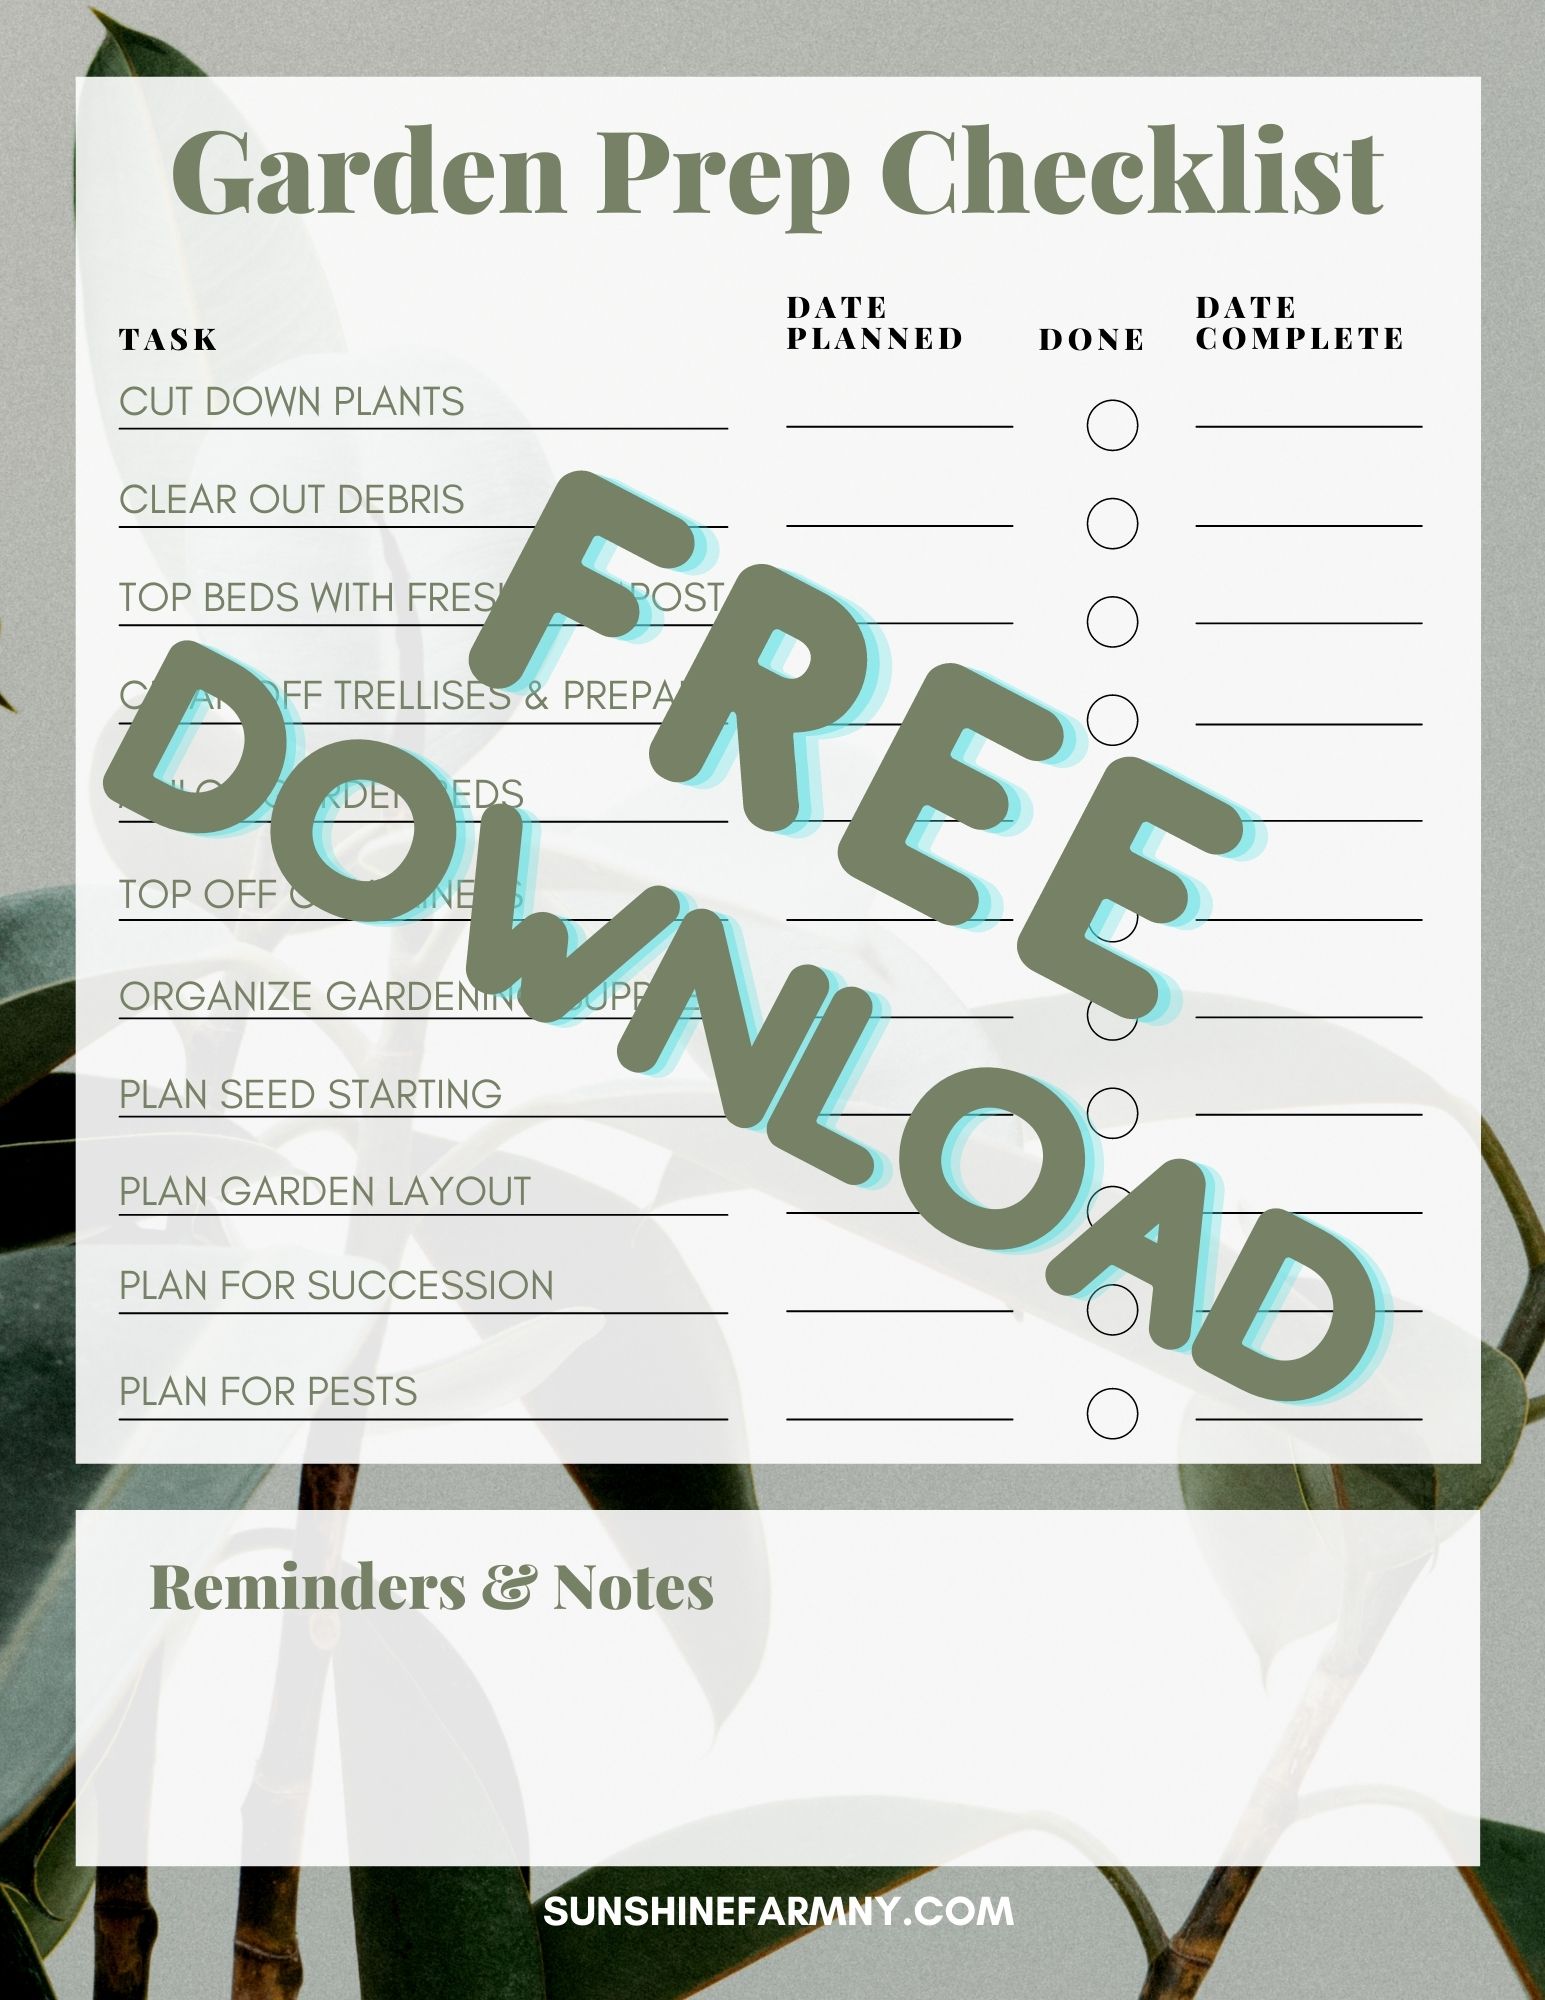
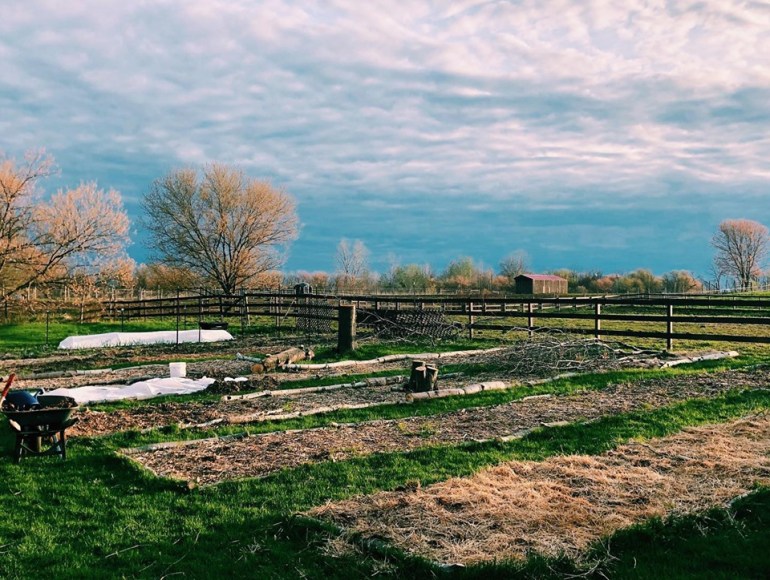
March is here, which means you might already be planting your garden! Or, if you are in a northern zone or cold climate like me, you might still be a month or so out from planting. Whether you are planting this weekend, or waiting till May, there are steps you can take now to prepare your garden beds for planting. Today I am going to share with you all about how to prepare your garden for spring planting. Included is a printable checklist to make sure you have everything ready to go! Download the checklist here.

Cut down plants at the root
Whether you decide to use the chop and drop method or you want to clear out any old plants and leaves, you want to make sure to cut down plants at the root so you can clean up the space and make room for your spring plantings.
The chop and drop method means you would simply chop at the root, and leave the plant in the garden to decompose and add nutrients to the space. This method is best done in the fall before winter, that way it can start breaking down before your spring planting. But it is also absolutely fine to use chop and drop in late winter or early spring, added bonus is the remaining material acts as mulch, covering and protecting the soil.
Clear out debris
This step is most important when it comes to diseased plants. You want to make sure to clear out any diseased plants from your garden as quickly as possible. But if you’re like me, sometimes time gets away from you, and you won’t be clearing things out till March comes around. Take any debris that comes from a plant that had disease (aka most tomato plants), and put those plants directly in the trash can or a burn pile. DO NOT COMPOST these plants! You do not want to re-introduce the same diseases to new areas of your garden.
If you don’t get to cleaning out diseased debris until springtime, make sure you rotate your planting since fungal diseases can live in the soil for a long time. This means planting tomatoes in a new area of the garden so they do not succumb to disease early in the season.
Top beds with fresh compost
This step is so important for a garden, especially one with raised beds or beds that are not mulched. Make sure to source organic compost, and to only use compost that is not hot. Hot compost is compost that has not properly broken down yet, like young manure. Hot compost can burn and kill your plants. One way to test this is by planting a test crop in it first, before spreading it all throughout your garden. Or use a tried and true bagged compost or compost company, one you can trust will not provide you with hot compost. My favorite bagged compost is called Bumper Crop by Coast of Maine.
*Tip! If you do any container gardening, make sure to also top off your containers with compost or potting soil so your plants get plenty of nutrients!

One year we used organic mushroom compost delivered to our farm by the yard. It contained herbicides and I noticed clear damage in any container where we used it. For this reason, we are very careful where we source our compost from.
Clear off & prepare trellises
Trellises are an excellent way to plant vining crops, and sometimes they are even essential. Crops like pole beans, peas, cucumbers, and winter squash do best climbing for a couple of reasons. It helps keep diseases at bay, and it also keeps the fruit off the ground so that pests are less able to get them before harvest.
To prepare your garden for spring planting, make sure to clear off old plant debris from your trellises so that they are ready for new plants come spring. You will also want to take down any trellises that can become easily damaged in winter weather, and set them up again in the spring. We use cattle panel trellises, which do not need to be taken down as they are sturdy enough to handle winter weather.
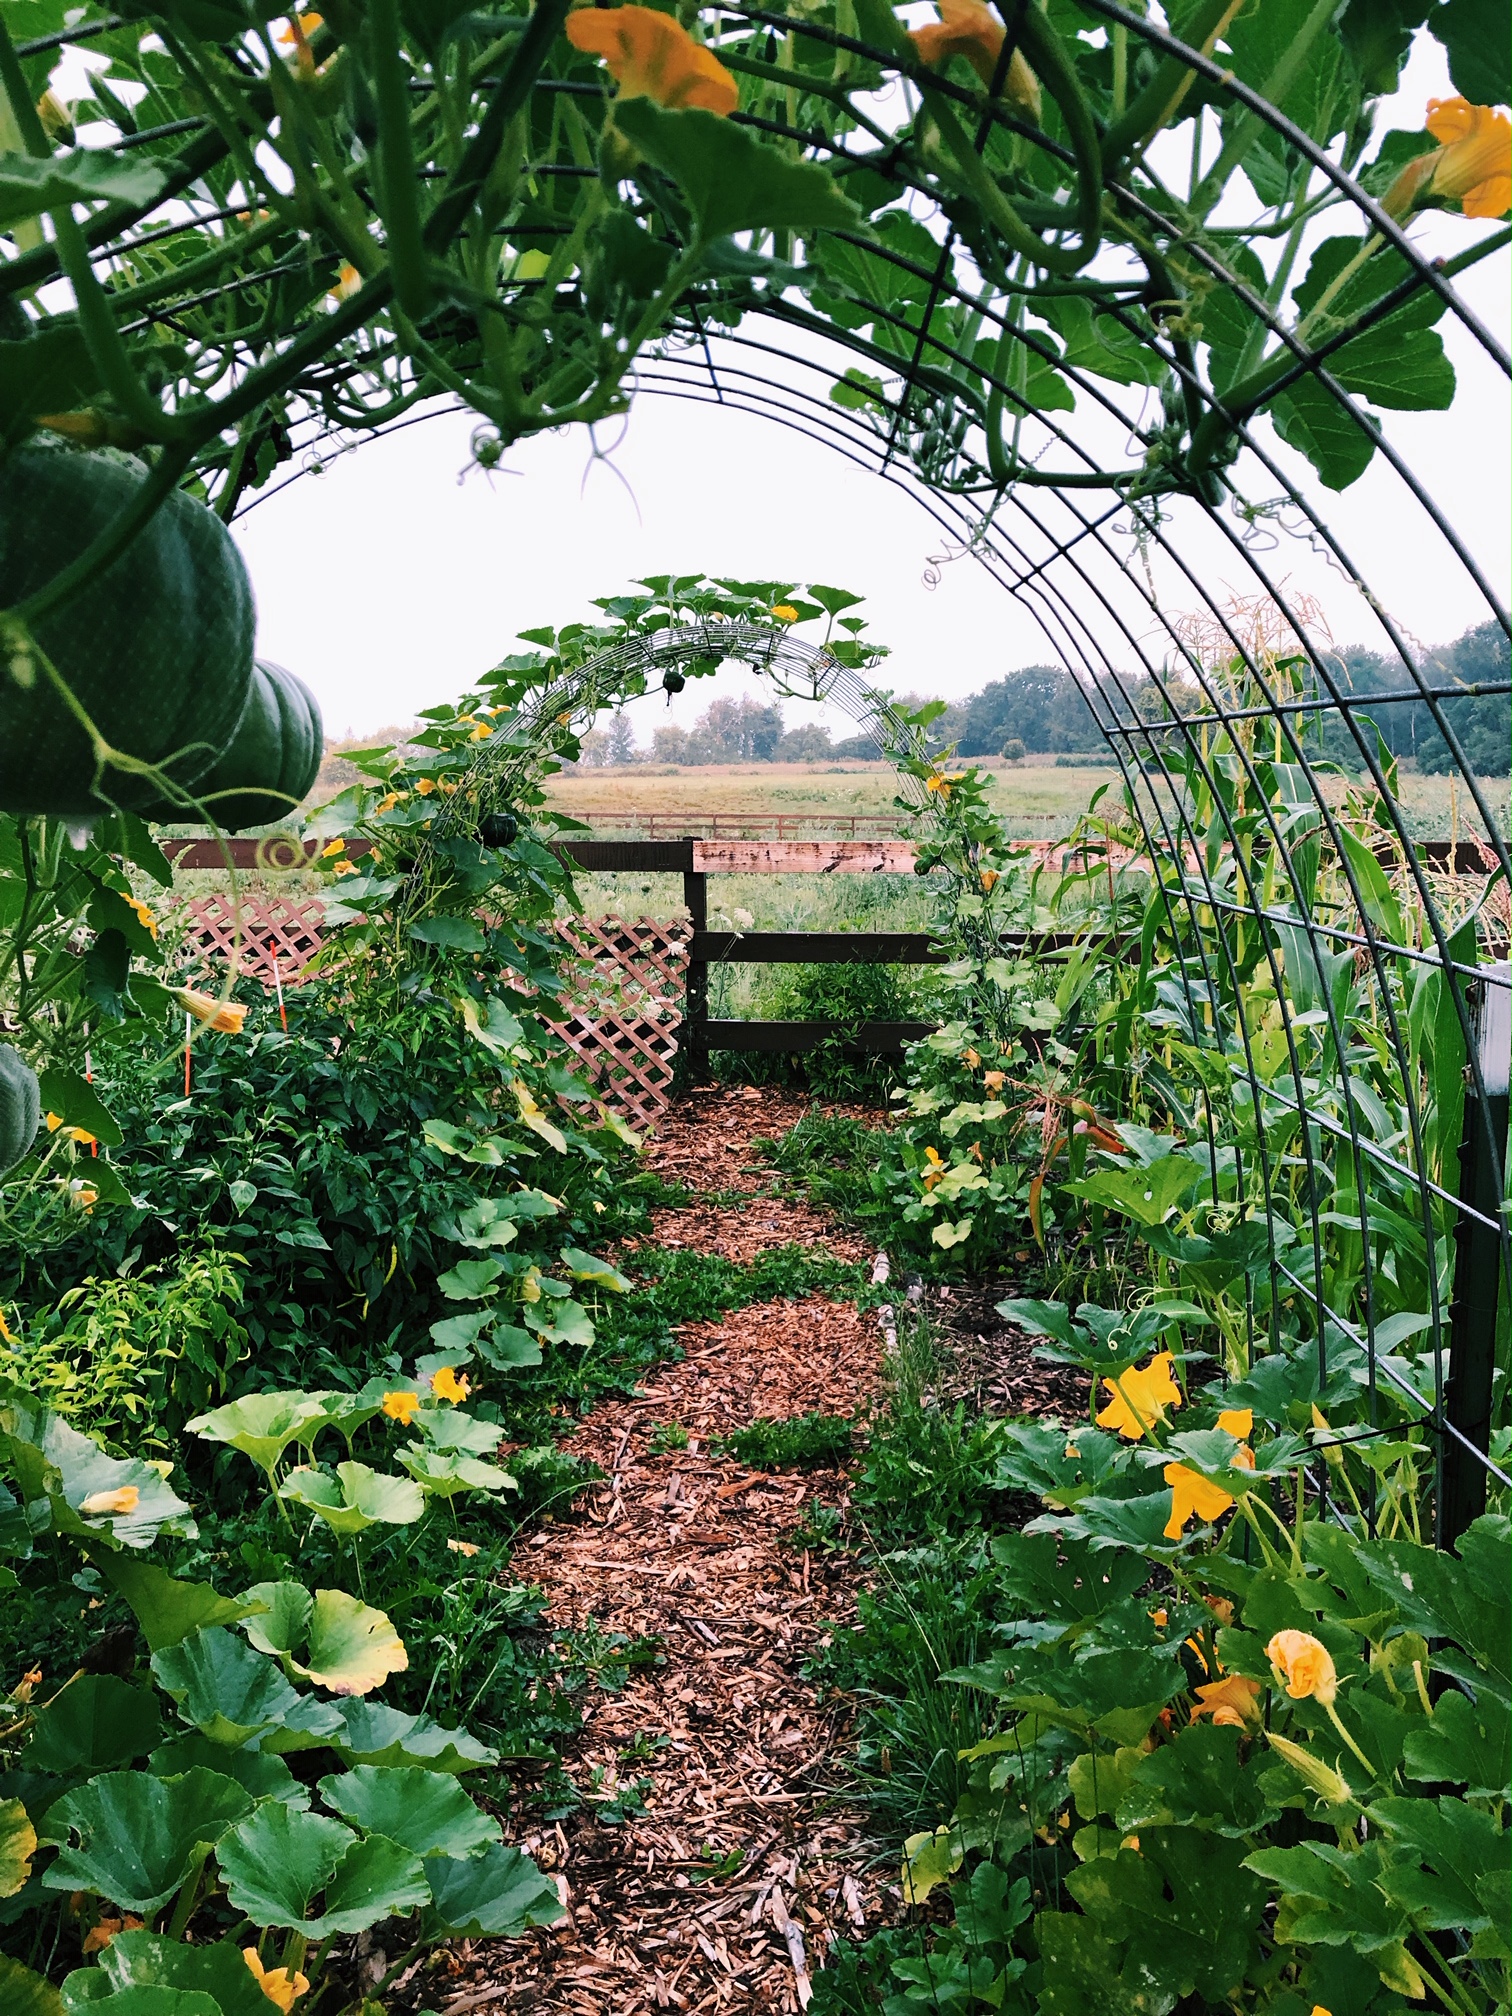

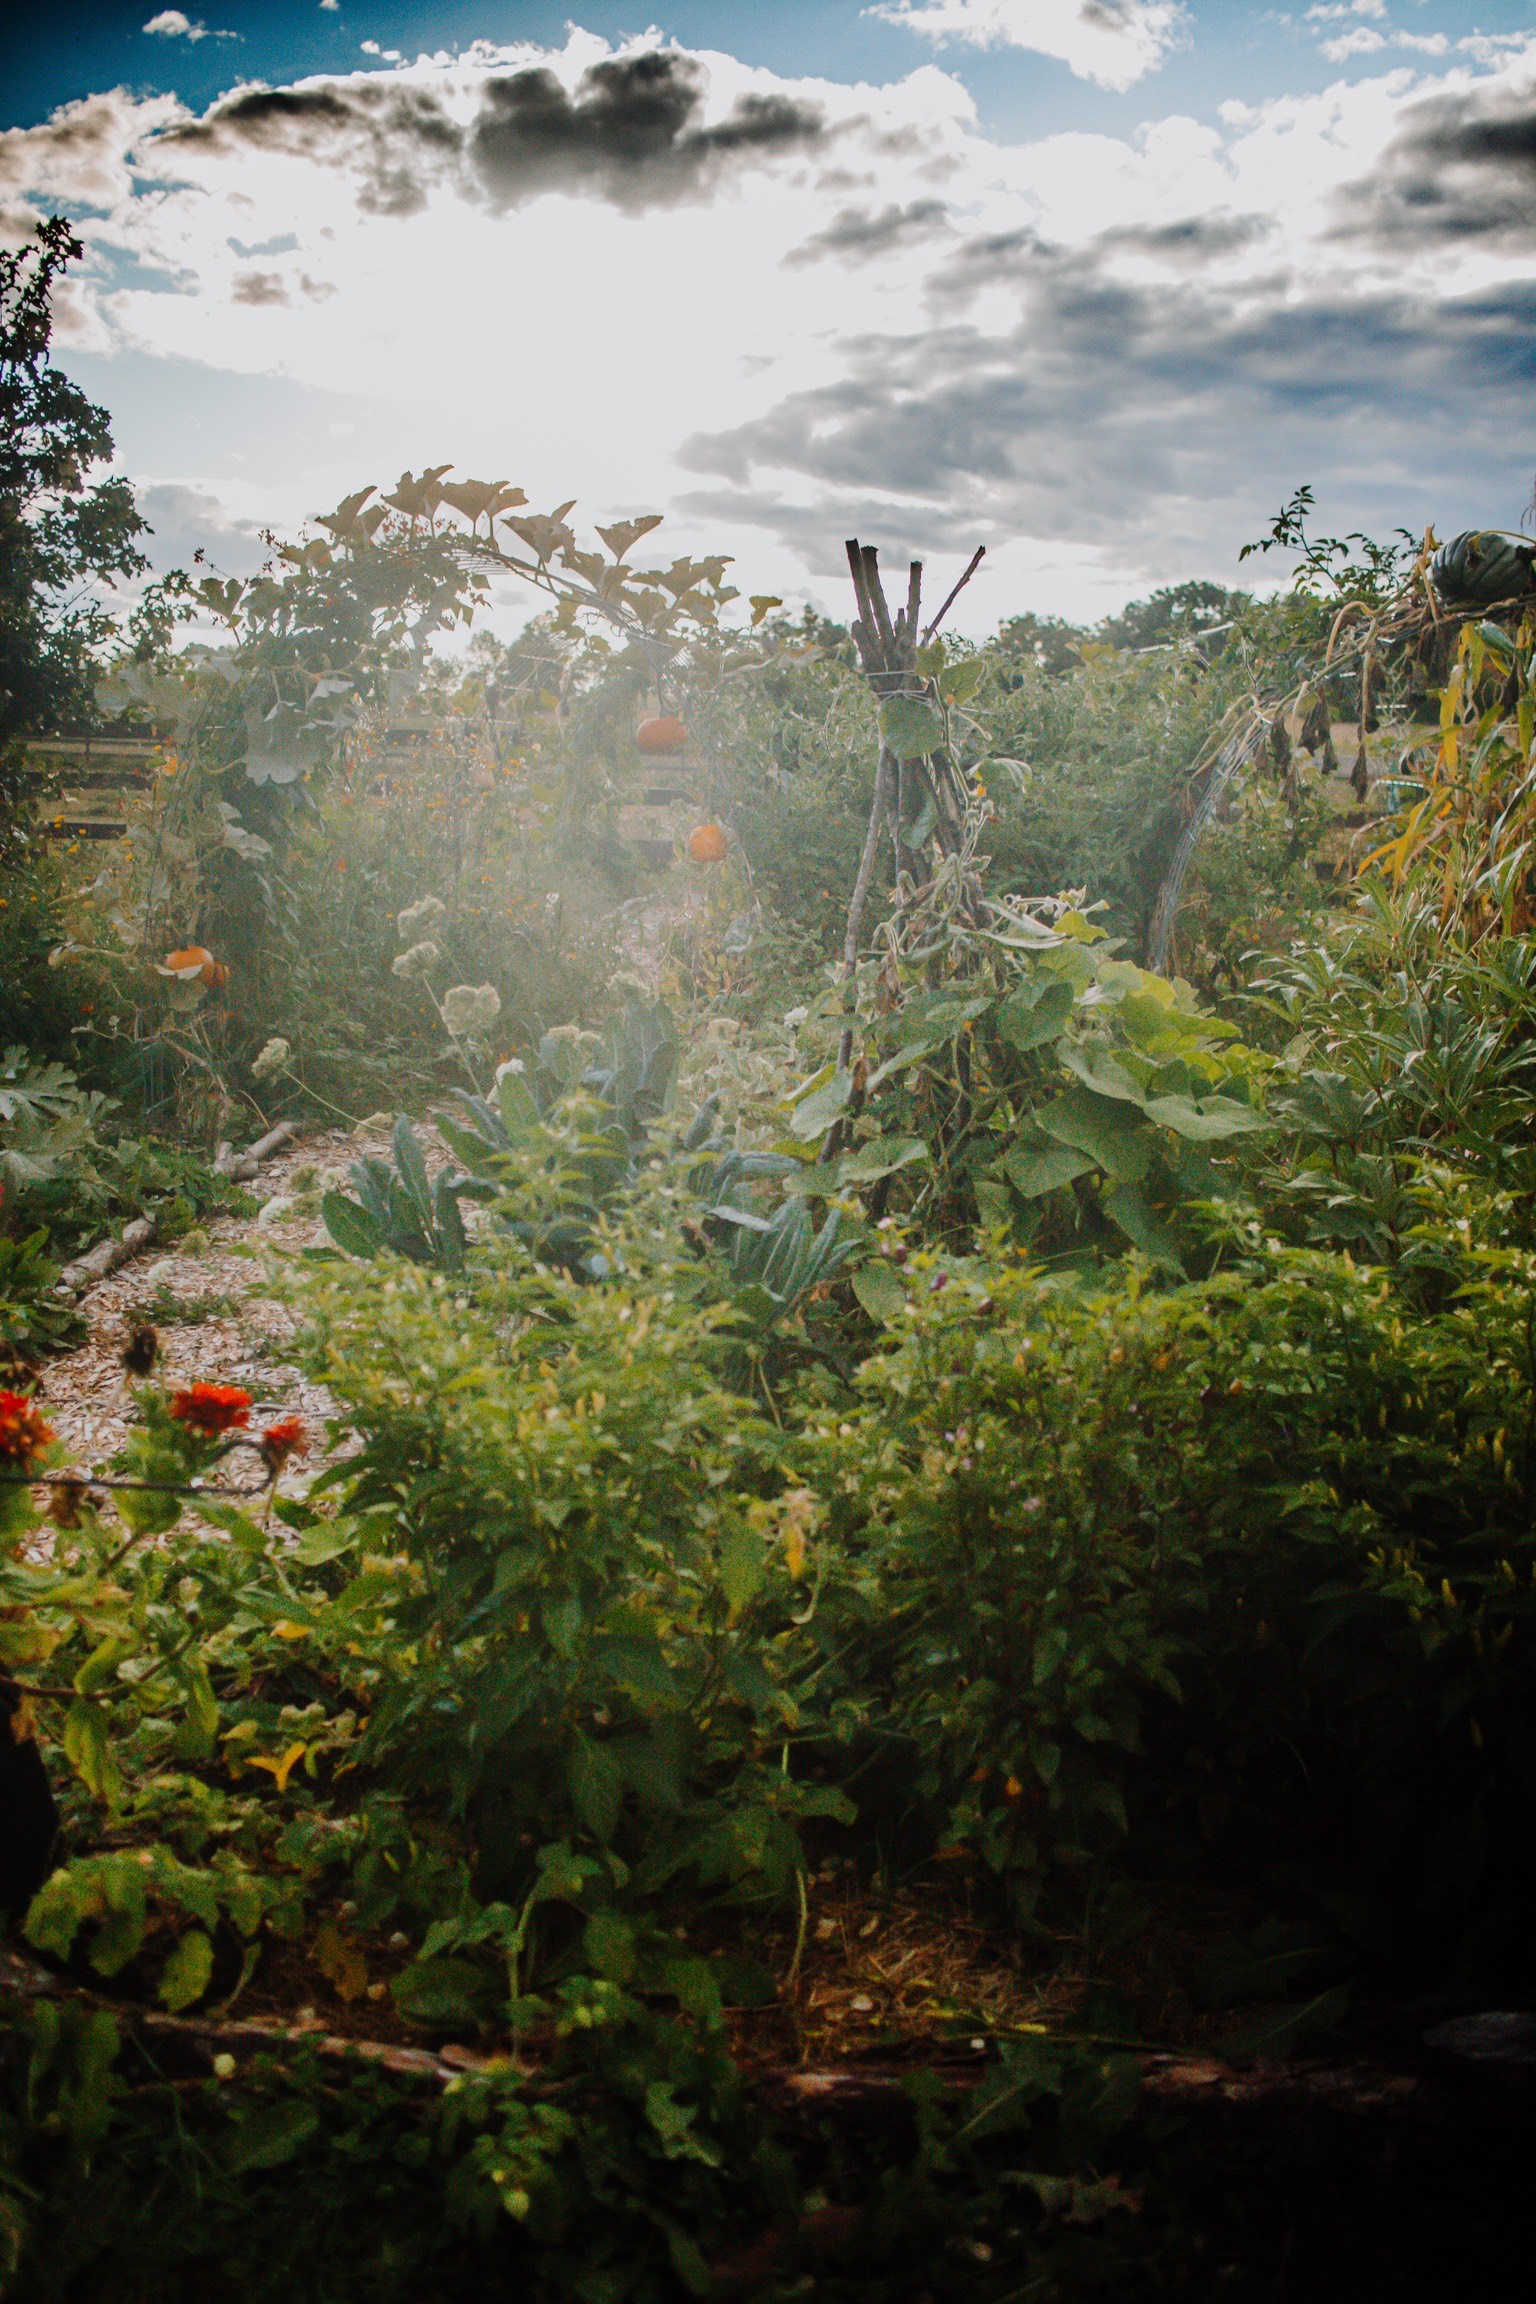
We also use natural trellises, like teepees made from sticks and branches. These often cannot stand up to winter weather, so we have to put them together again in the spring. To prepare for planting, you will want to make sure your trellises and teepees are ready to go.
Mulch garden beds
Some gardeners prefer to mulch their garden beds, like I do! This can be so beneficial for a number of reasons. I won’t dive into this all right now, but these reasons include water retention, added nutrients, protecting the soil, and weed suppression.
Mulching Is best done before winter sets in, to add a ground cover over the soil, protecting it for the months that it stays dormant (if you live in a cold climate like I do). You can mulch anytime though! If you are doing it for weed suppression, you want to make sure to mulch before the growing season starts, to keep weed seeds from germinating.
Common types of mulch used are grass clippings, hay, straw, wood chips, leaves, and other organic matter. You will want to ensure anything you use for mulch is organic and not treated to avoid accidentally poisoning your garden and plants.
Weed garden beds
Weeding… certainly not the fun part of gardening, but so important to avoid weeds taking over the nutrients from the soil. You will likely weed more than once during the season. If you want to avoid weeding as much as possible, definitely consider no-till methods, check out a blog post I wrote about different options, here.
To prepare for spring planting, you will want to do a very thorough weeding of your beds. Make sure when weeding to get all of the tap root of weeds like dandelions and other perennial weeds. They can be notorious for growing back stronger if even a portion of the tap root is left.

Organize gardening supplies & seeds
If you are anything like me, your gardening supplies might be all over the garage, and even the yard. To get ready for spring, make sure to get organized. That way you know what you have and what you still need. This is especially true if you start your own seeds.
As gardening season approaches, organize your seed starting supplies and seeds so you know what you need to order. This is extra important for seed starting since many companies sell out quickly with popular varieties of seeds going out of stock.
One way to organize seeds is by using a small file storage box like this. This is what I use and it’s so helpful!

You can find a lot of different ideas by doing a quick search!
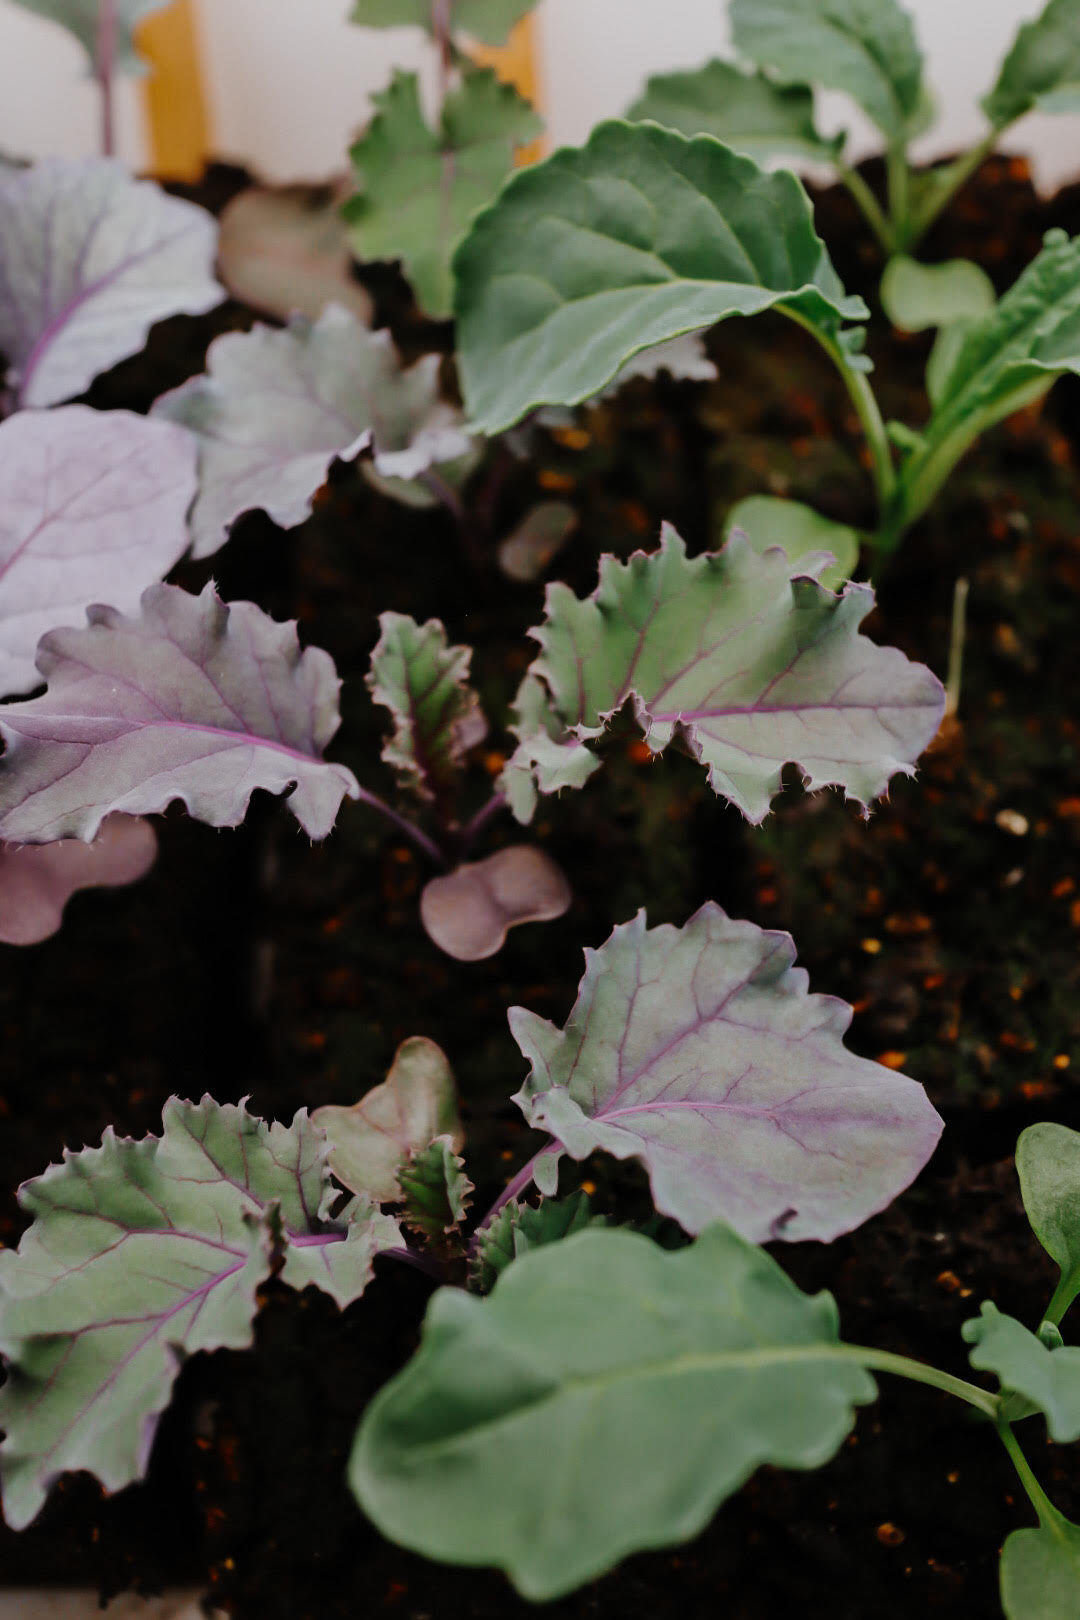
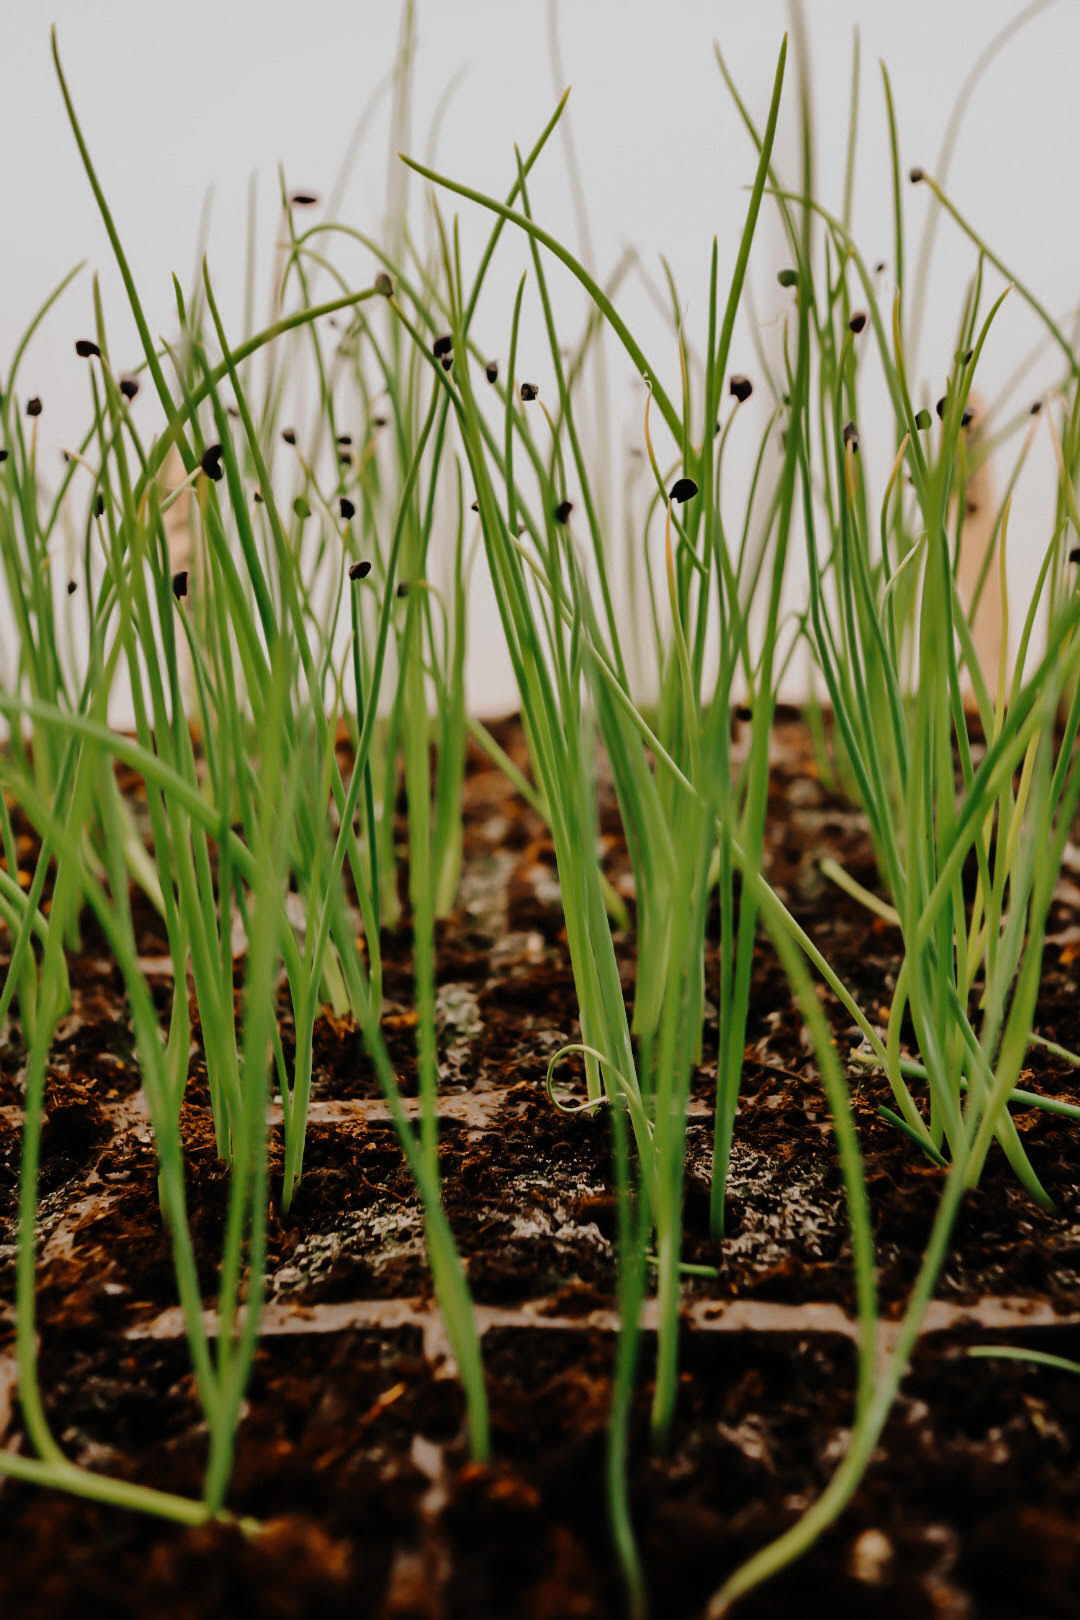
Plan & begin seed starting
If you plan to start seeds, you want to make sure to get things started well before you will plant in the ground. Many things you will start 6-8 weeks before your last frost date. Some things may need to be started much earlier though, up to 12 weeks before your last frost date. For more information on seed starting, check out the seed starting guide, and everything you need to start seeds.
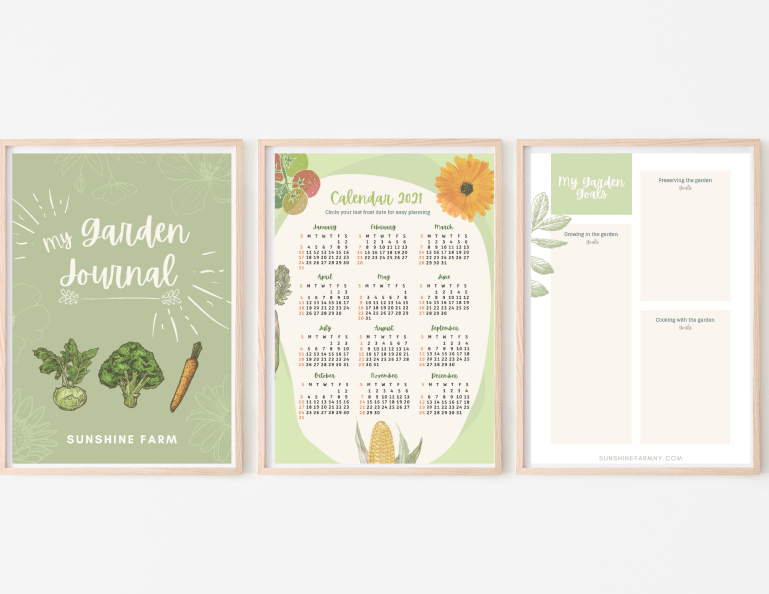
Staying organized is an important part of starting seeds. It can be tricky to remember when to start seeds, how many, germination rate, planting date, etc. To stay organized, consider using a garden journal and writing everything down. I created an easy to use garden journal and planner, which you can find here.
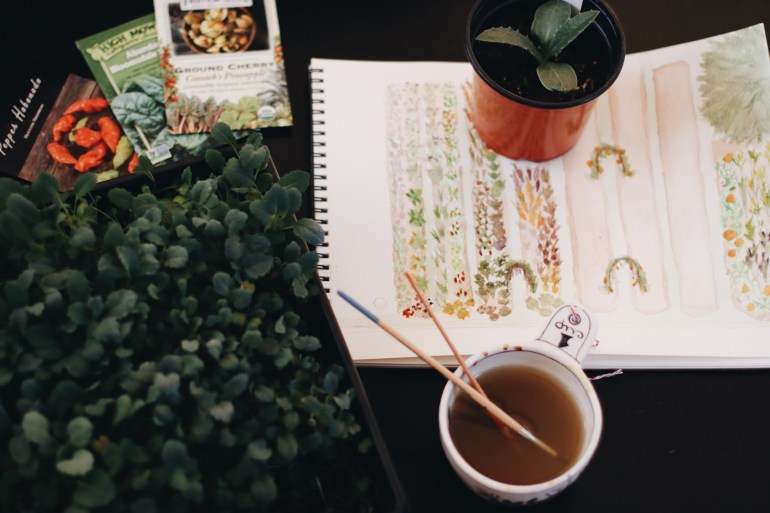
Plan garden layout
This is the fun part! Whether you want to get creative and hand paint your garden layout, like I did below, or you want to digitally map it out, it’s a good idea to plan out your garden before planting. This can help you get an idea of how much space you have, how many seeds you want to start, and whether or not you need to consider expanding your growing space.
One tip for planning your garden layout, make sure to dedicate enough space for each individual plant. You can use the square foot gardening method for densely planting crops, but that requires a lot of nutrients in the soil and pruning. Make sure when you’re mapping it out that you avoid putting things too close together, overplanting is very tempting but leads to smaller harvests and less vigorous plants.
Plan for succession crops
When you think about spring planting, there is one important factor to consider, succession plantings. Many crops will produce and bolt or die before the season is over, and you can maximize your growing output by planting other crops, or the same crop, in its place. Things like cucumbers and summer squash can have multiple successions in one season. Garlic is harvested in early or mid-summer and leaves open space for late summer and fall crops. Or broccoli for example, is a spring and fall crop, but does not grow well in the heat of summer, so you will want to plan your garden space with that in mind.

So when you consider your garden space and layout, consider what will go in its place. Crops that can be direct sown are a great choice for growing in succession. Things like greens, beans, cucumbers, and root veggies all can be direct sown.
Plan for pests
Finally, when you get ready for your spring garden, you will want to consider pest issues, especially since many of these issues can be avoided with some prevention. For example, if you know you’re in an area where leek moth is an issue, you will want to use row cover or insect netting for all alliums (garlic, onions, chives, leeks, and others). Or if you tend to have issues with aphids, you can plant nasturtium as a trap crop so the aphids leave other plants alone.
There are lots of pest strategies to keep in mind. You will learn so much through trial and error, but you can also make a plan in advance. Consider some of the following from the list below in planning for pests:
- Row cover or insect netting to prevent pests from damaging plants
- Applying permaculture methods
- Interplanting crops
- Planting pest-deterrent crops like marigolds, nasturtium, and herbs
- Attracting beneficial insects and animals
- Having organic pesticides on hand like BT, neem oil, spinosad
Once you can check all of these items off of your list, you will be ready to go for spring planting! If you did not get to all of them, don’t worry! You can still have a thriving garden. Gardening isn’t just for those who are organized! Have fun, and enjoy your gardening season!
Click HERE to download the free garden prep checklist!
Included are two versions each with two pages. Page 1 is a complete version with the list above, and page 2 is blank so you can customize it. Version 1 is a fillable PDF you can complete digitally, or use Version 2, printer friendly so you can print it out and write out by hand!
PIN it for later!

